
It has been awhile between posts. There hasn’t been a lack of projects occurring, but just lack of motivation to complete a dedicated post for them. There is a back log of sewing projects to share, but for today, my mudroom bench. It seems like a very simple project, but goodness, did I learn a lot, and there is a a huge margin for growth and improvement! I’d love to share the complete pictures, edited and looking shiny, but that wouldn’t be true to sharing the journey and all my lessons. So no need to zoom in on the pictures, I’ll do that for you!
Ever since designing the house, this little mudroom area was destined to be here. It seemed like such a small, simple project, but I lacked the tools and knowledge to even get started. I have been slowly building up my ‘tool shed’, mostly thanks to my parents cleaning out their shed. Even still, I definitely went in very naive and underprepared. Hence the project continued to change at almost every step, with copious amounts of phone calls to my parents for advice!
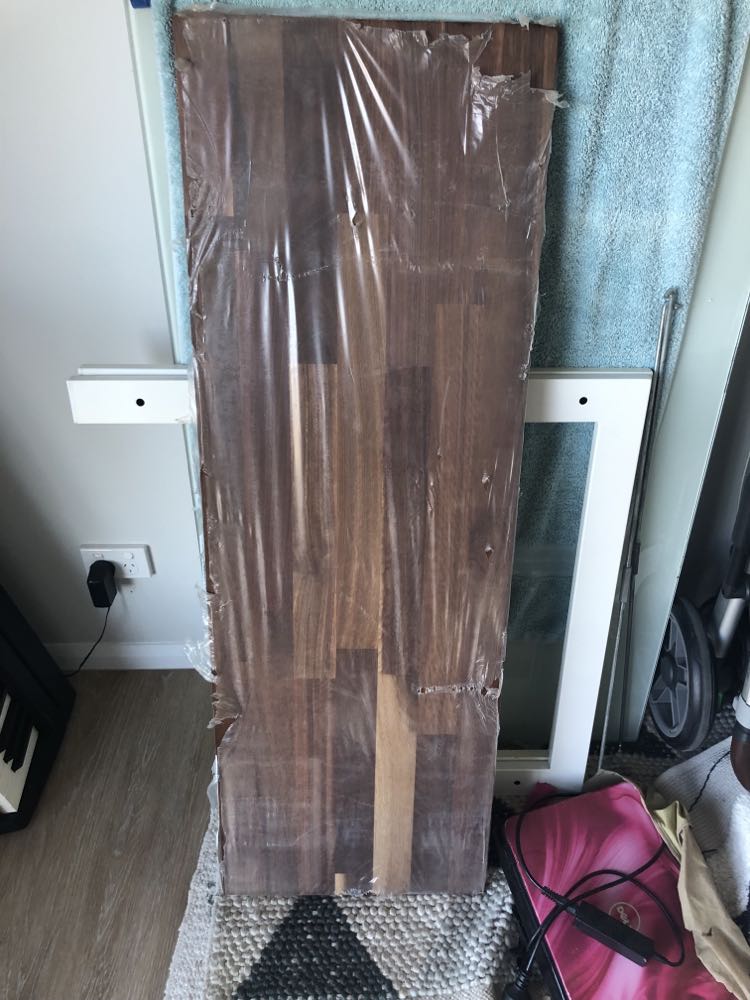
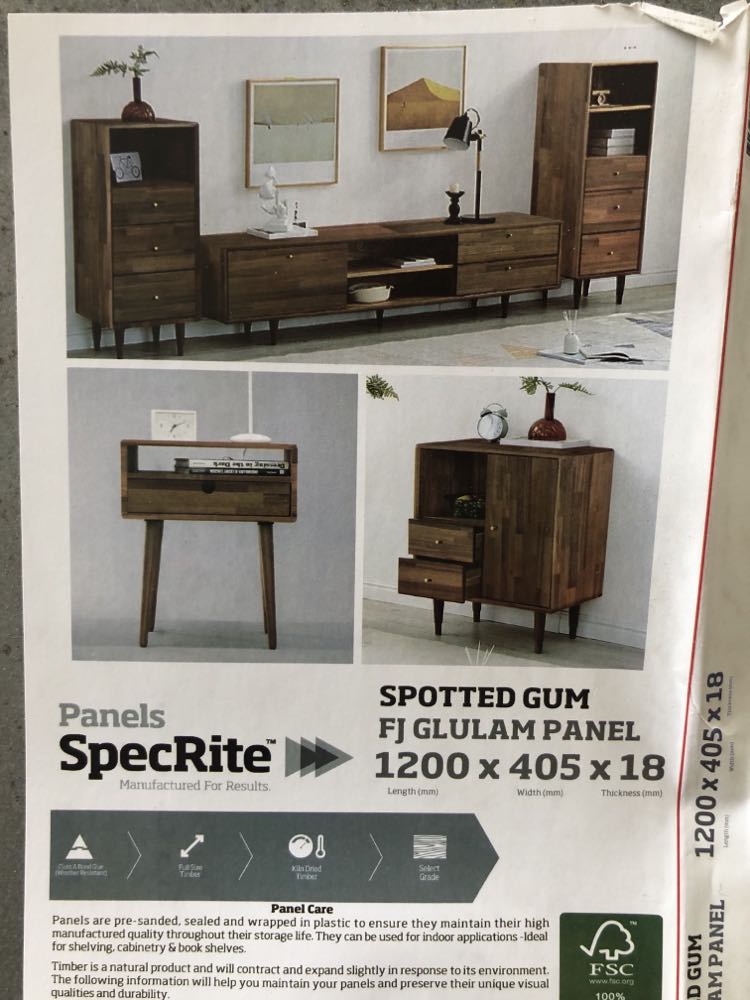
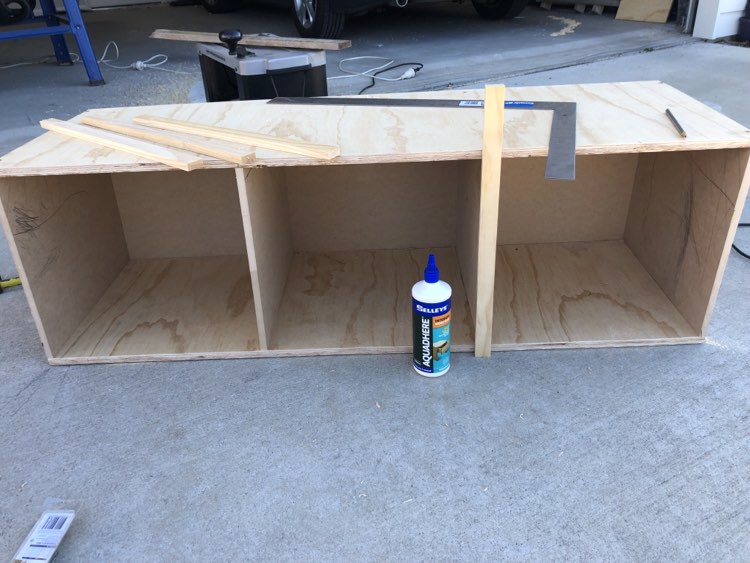
It started with a left over timber panel that I bought for shelving, but only ended up using one. This is a SpecRite spotted gum panel from Bunnings, 1200x405x18mm. The size of this dictated the size of the unit. I originally wanted the bench to fill the space between the wall and laundry bench, with 4 units, but I wanted to use this timber panel. I now actually like having a little gap between the bench and unit.
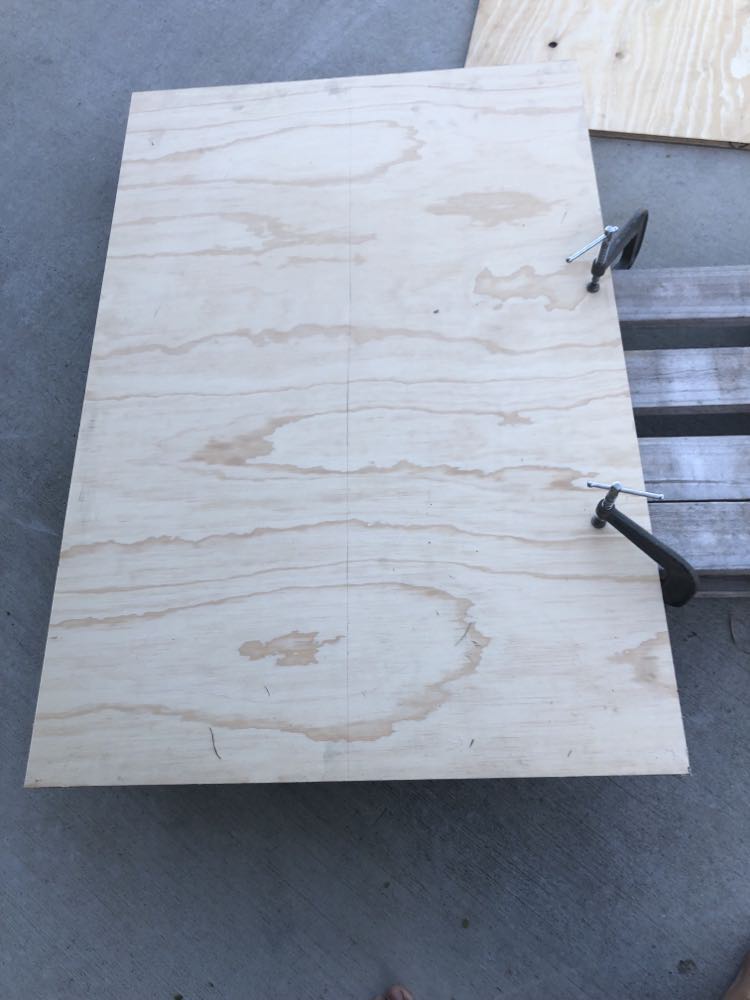
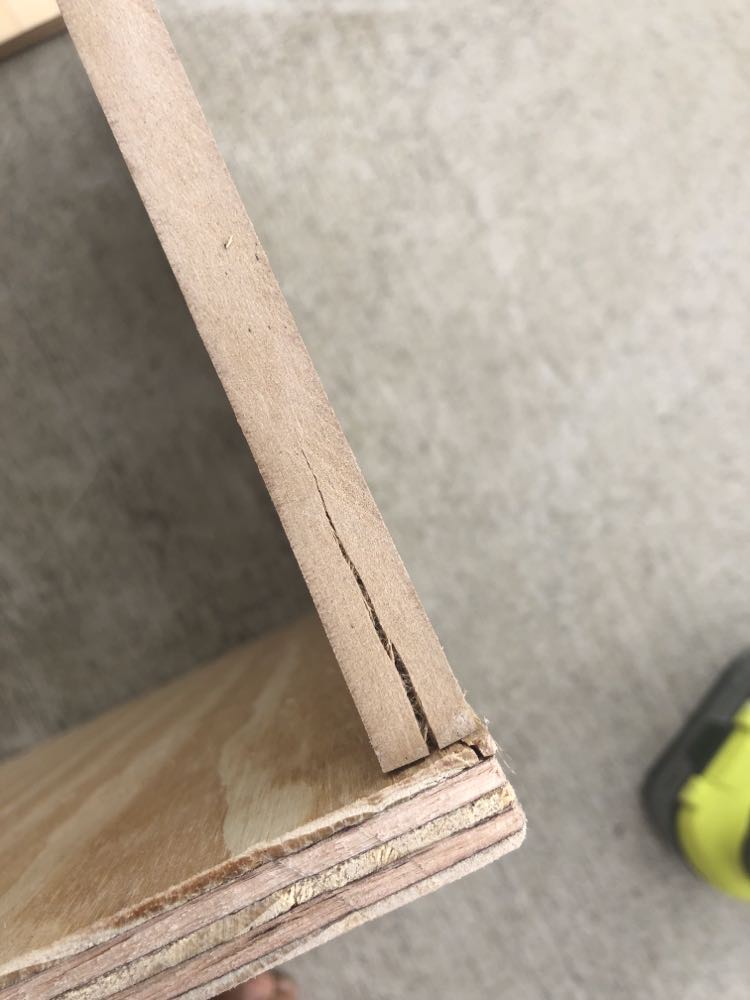
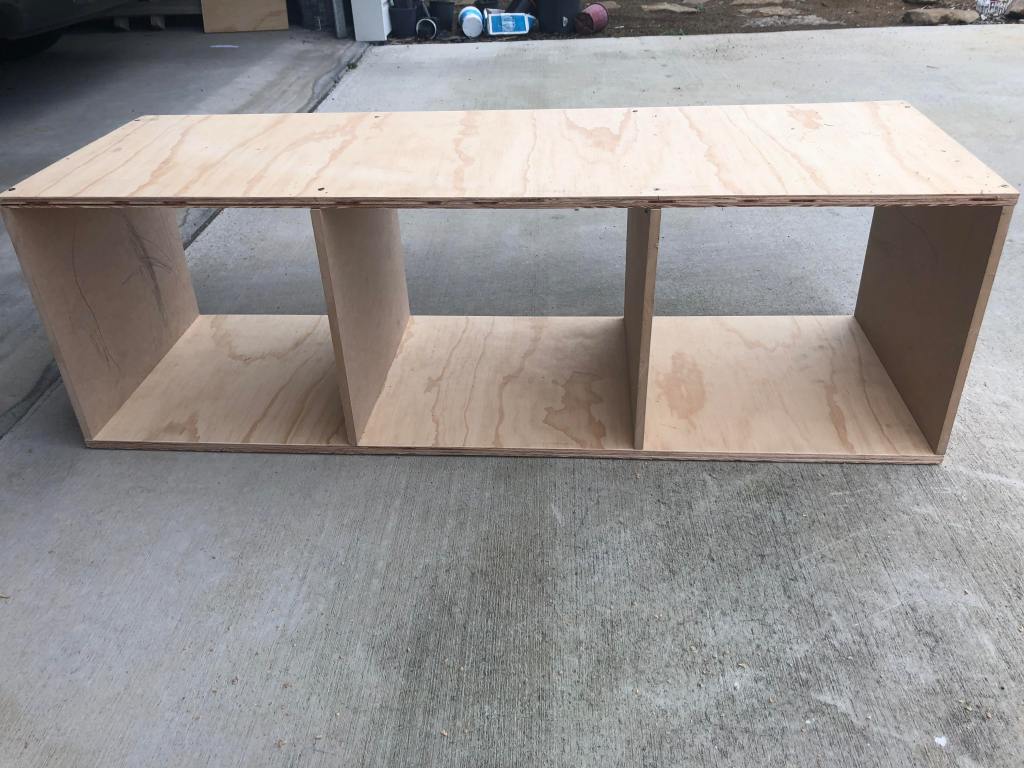
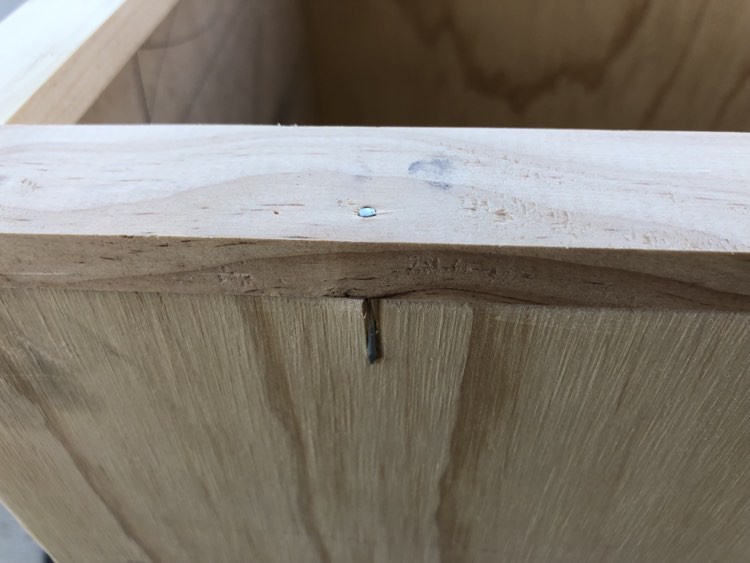
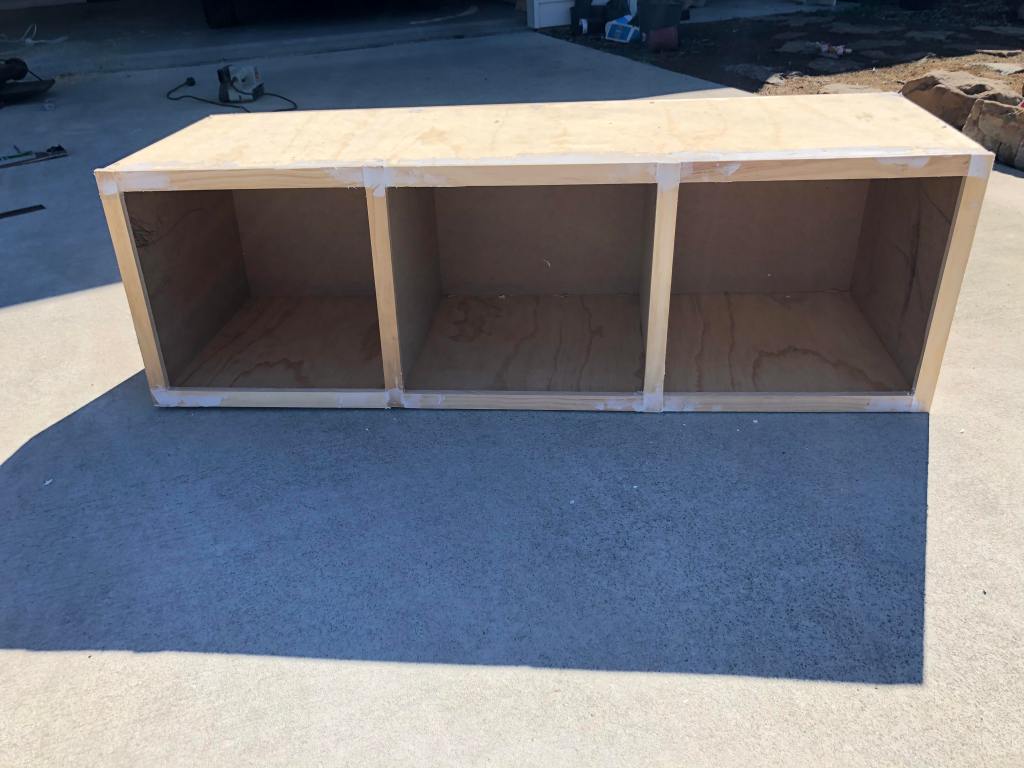
I also had some left over 15mm plywood from making the craft table, a piece 1200x800mm, which seemed perfect to cut in half and have a 1200x400mm top and bottom. I used the circular saw and as the photo shows, just clamped it to a pallet and basically free handed with the saw. I know now I should have clamped something to guide the saw! I also had another little piece of 15mm ply I cut to make the vertical pieces/dividers 350×400. The ply is quite poor grade and I just wasn’t able to attach the ply without it all splitting.

I bought a piece of 12mm MDF 1200×900. Since I had just received the bench saw, I was keen to use it. I measured out MDF and again basically free hand fed it over the bench saw, meaning my cuts were definitely not perfect straight/square.. I just thought a little sanding would sort it out.. another lesson! I also then had trouble attaching the MDF with it splitting too. I was using some screws I found in the cupboard.
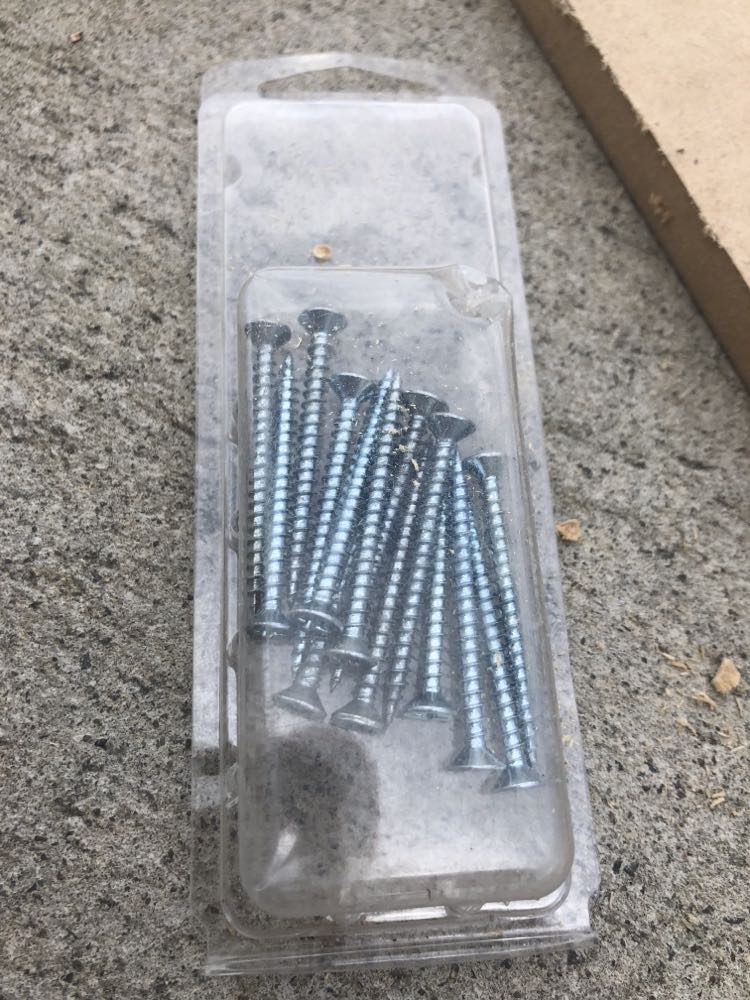
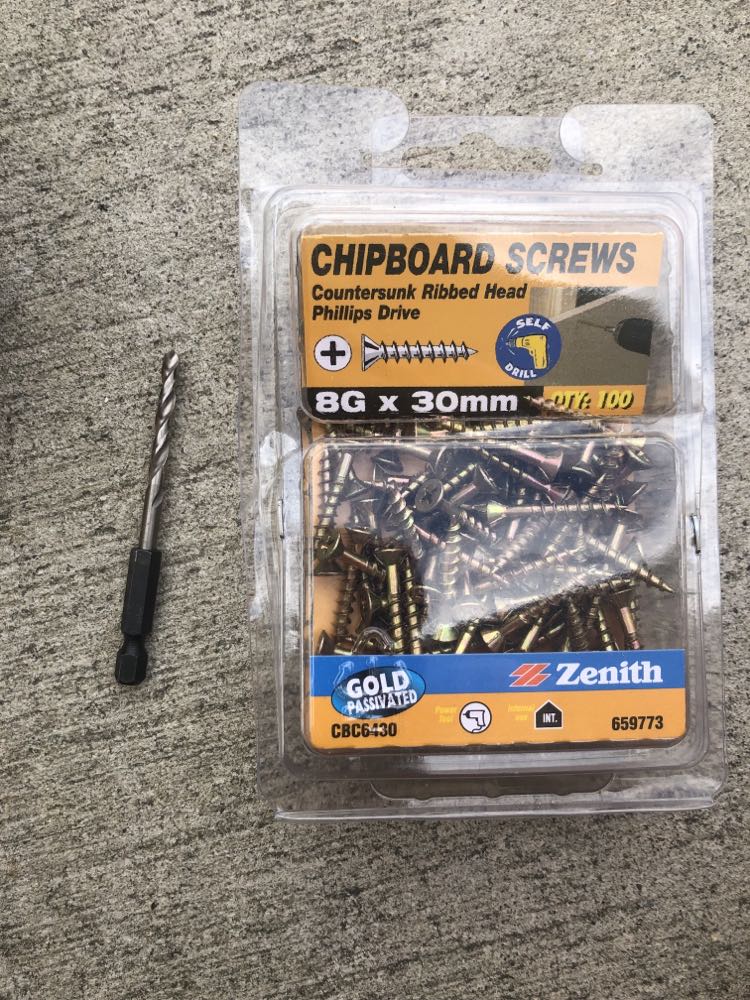
Phone call #1000 to my parents for advice! I drilled a pilot hole and used some chipboard screws I had bought for another project. This seemed to work. Managed to screw it together, despite the cuts not being perfectly square!
Dad advised I needed something on the back to brace it, so I had planned to use from old scraps. This didn’t work out, so back to Bunnings, again. I got a piece of 3mm MDF. Still didn’t learn my lesson apparently and free hand cut it through the bench saw. I attached it with little nails. Turns out I need a lot more practice with hammer and nails! I had quite a few not quite straight and come out the sides which was really frustrating as it kept splitting the ply.
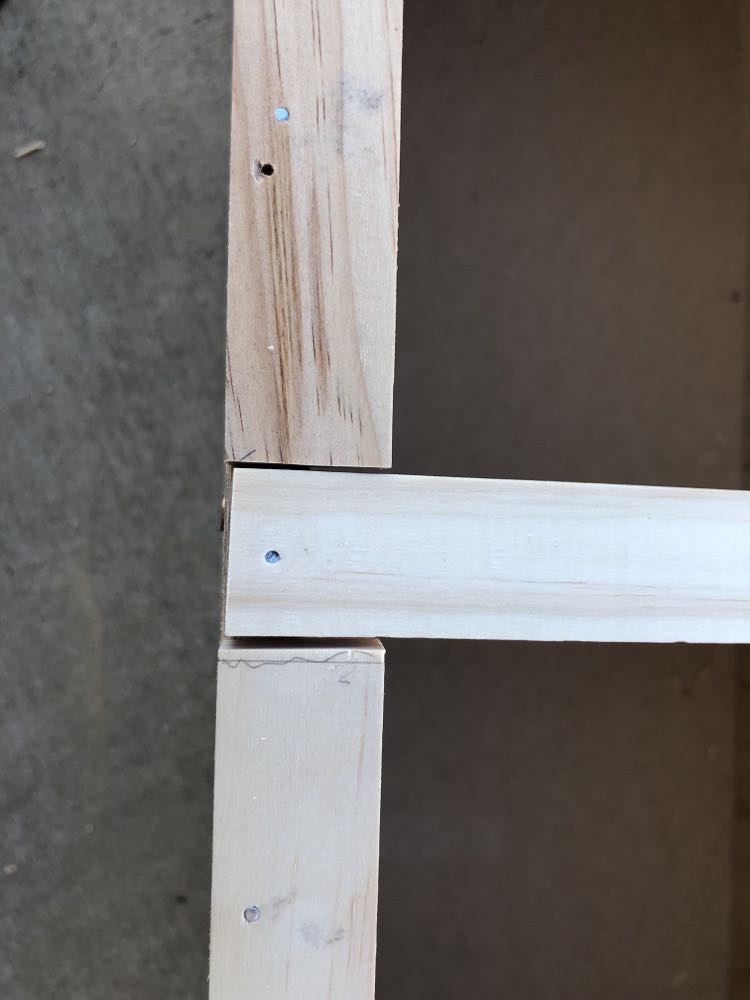
There were overhangs on all sides with the backing MDF due to my poor cutting skills. I used the planer to trim it all up and a sand with the belt sander. I then decided I needed to add some decorative panels to the front to cover the joins and ply wood. I had some pine offcuts, 90x12mm, in the shed that I just ripped down into thirds length ways with the bench saw. Because they were smaller pieces I was able to use the side fence/guide to actually cut these straight! I cut them to size and attached with nails, again with similar results of them sticking out. More practice required!
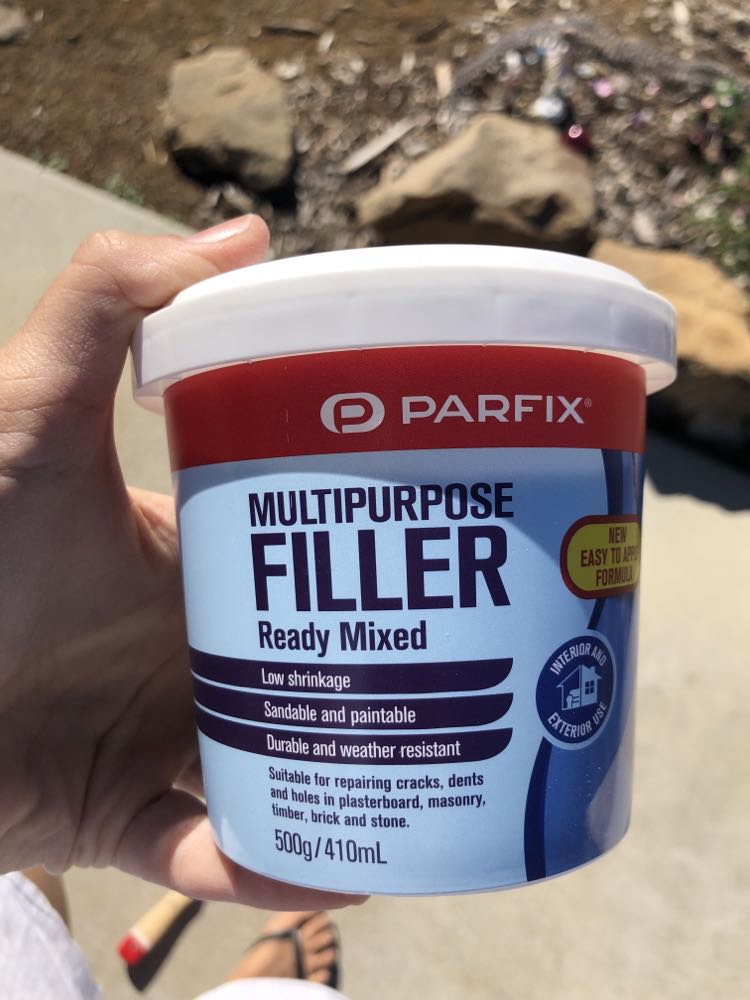
There were quite a few little gaps and imperfections, which I tried to fix with some gap filler…
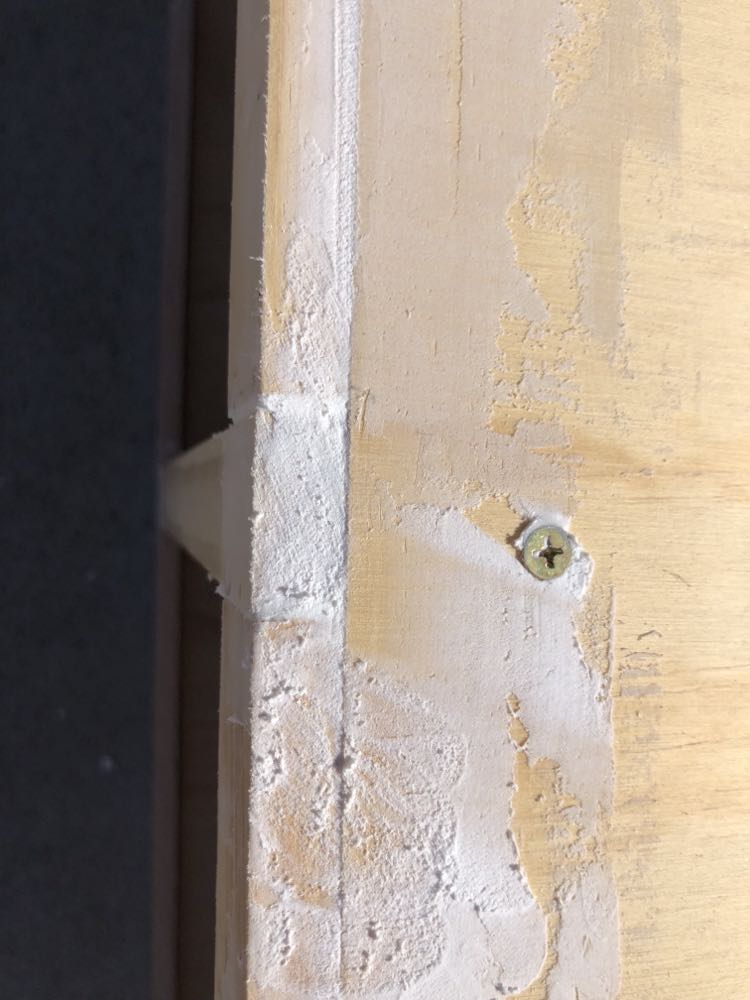
Once it was dry, I just sanded it all with both the belt sander and mouse sander, trying to smooth as possible.
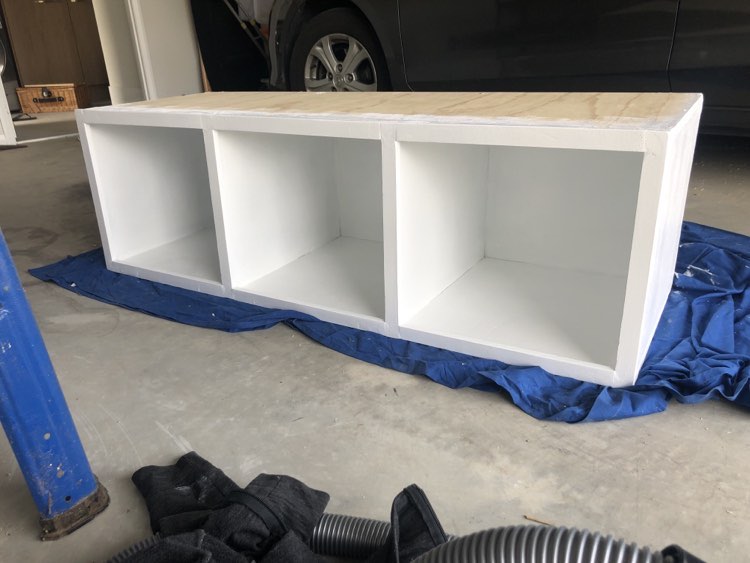
By this stage, it was far from perfect, a little wonky and just a bit of a mess. Nothing a good coat of paint won’t fix 😉 So an undercoat with British 4 in 1, and 2 coats of British Paints H20 Enamel in white (because I had some in the garage from mum and dad) and all my imperfections were highlighted!
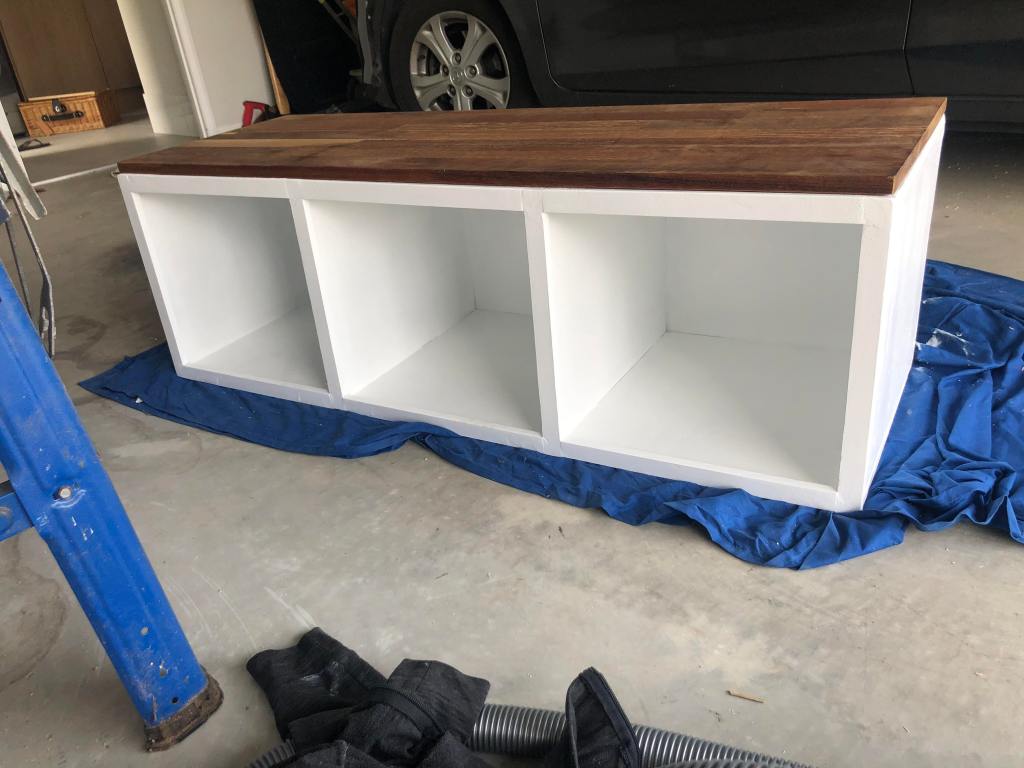
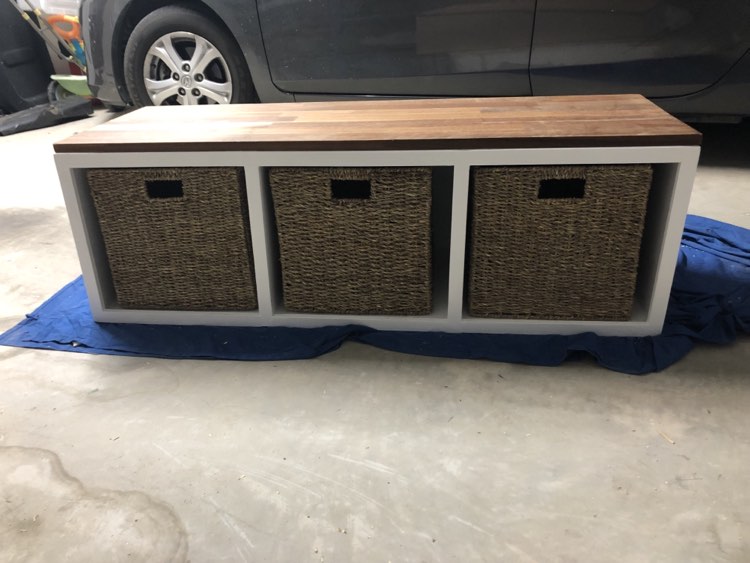
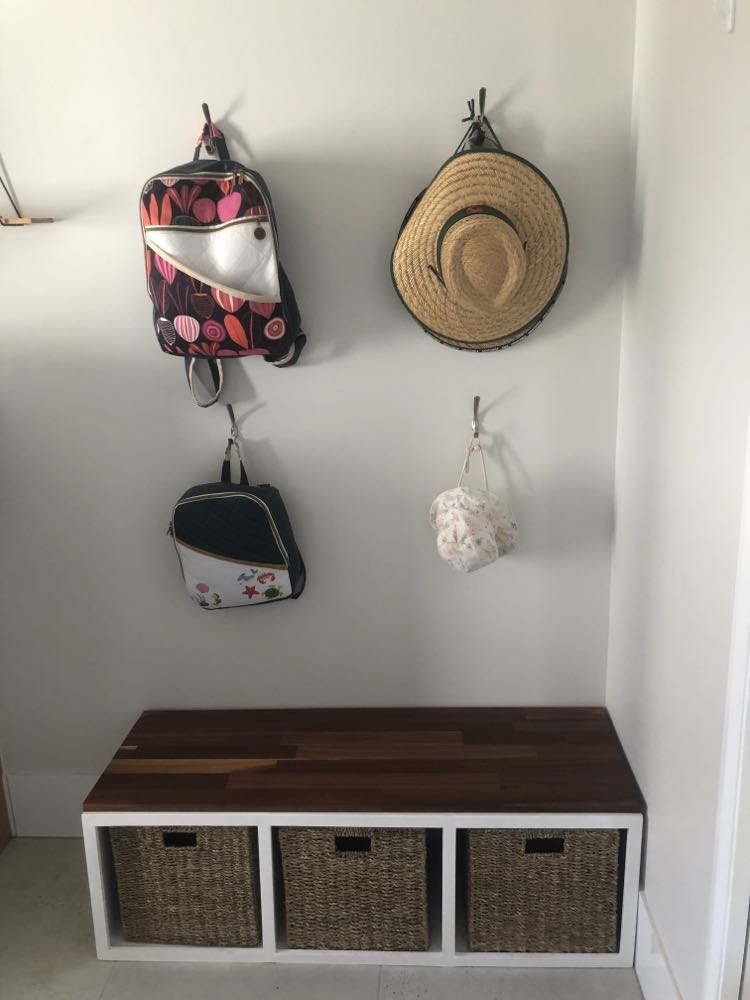
By this stage, I was pretty much ready to be finished, it was nearly a month from start to finish. Between the amount of time I actually get uninterrupted with power tools, and the numerous amounts of Bunnings trips and phone calls to my parents, it was a miracle I reached this point! So, a final Bunnings trip to get some baskets that fit and putting the timber panel on top and it was basically done. I planned to glue the panel on, but for now, I think it’s ok just sitting on top. From a distance, it actually doesn’t look too bad. You get too close and the many, many imperfections are quite obvious. I am embracing it for what it is! A learning curve and project to reflect and grow from. The hooks on the wall finish the mudroom area. Next to finish the laundry, I am currently half way through trying to install melamine shelving in the built in cupboard. I also need to do a post about the backpacks hanging in this photo, 2 of the hardest sewing projects I’ve done!


Leave a comment