
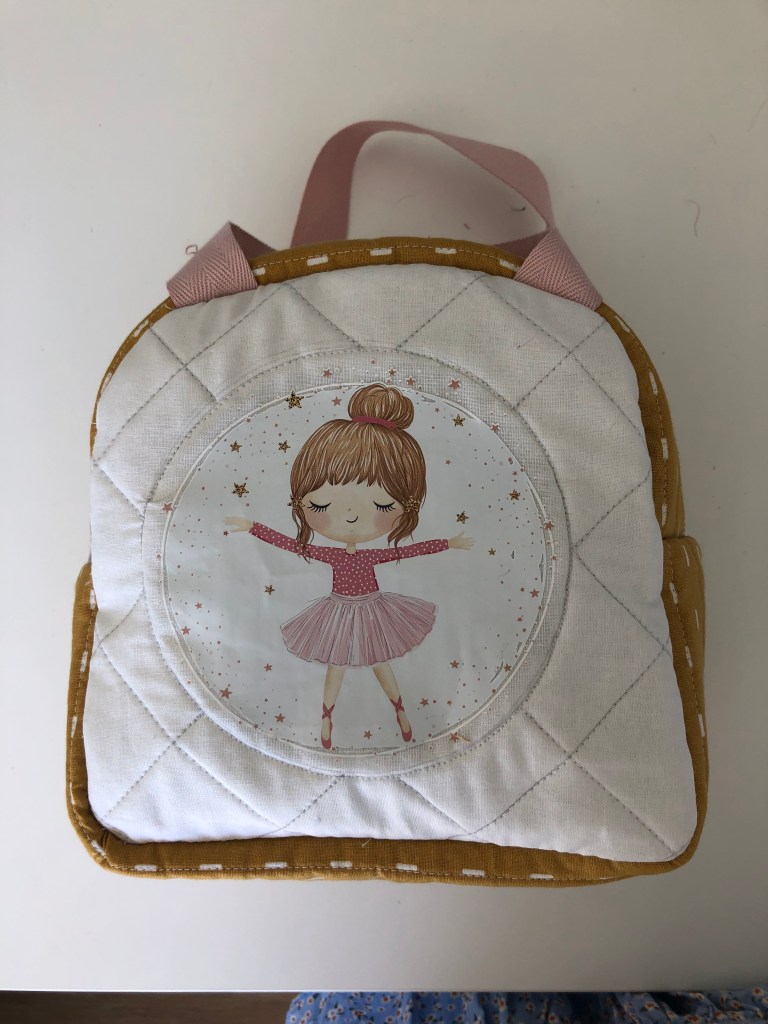
This is a sewing project that gets a post of its own! It may be small, but it actually took a bit of work. Ruby chose the ballerina iron on picture from Spotlight months ago and has been asking me to ‘open it’ ever since. I decided awhile ago to put it on a lunch bag since it’s something we use most days so she can enjoy it. I had a lot of trouble deciding on the style of lunch bag I wanted to make. I don’t know why, but I procrastinated on it for ages, and finally just picked one. It’s a similar shape to one we use, and it has a video tutorial on YouTube, which was very helpful. I was looking for a free pattern, but really liked this one, and the tutorial, so purchased the pattern and instructions.
This is the link to the pattern and the YouTube tutorial for anyone interested.
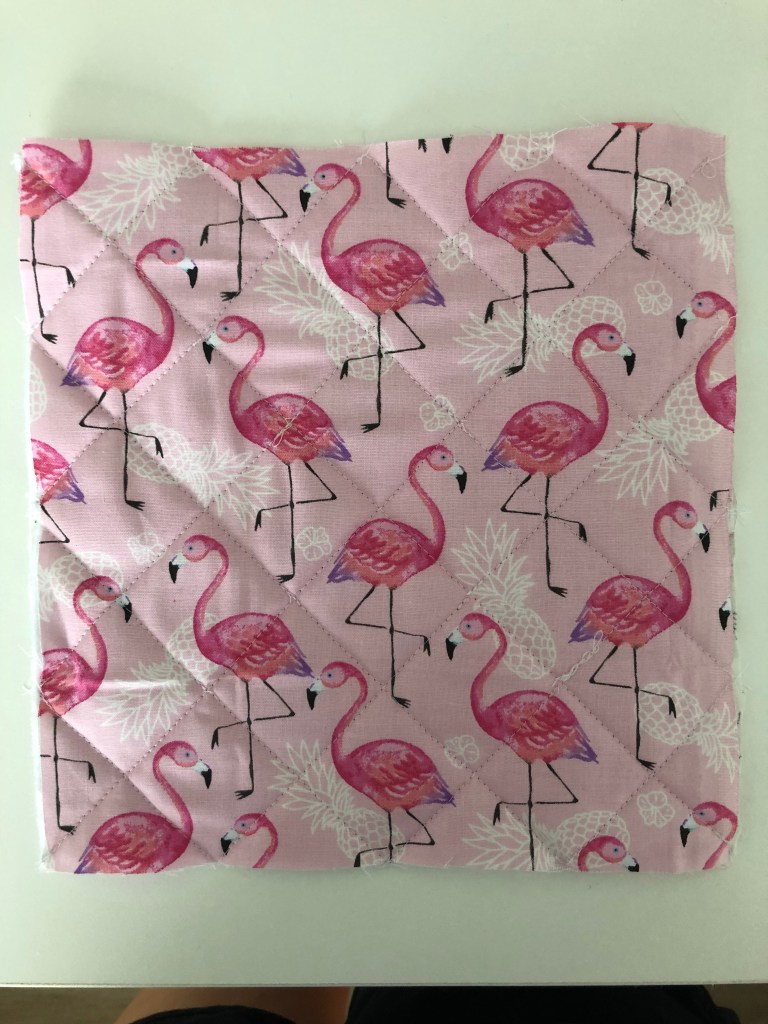
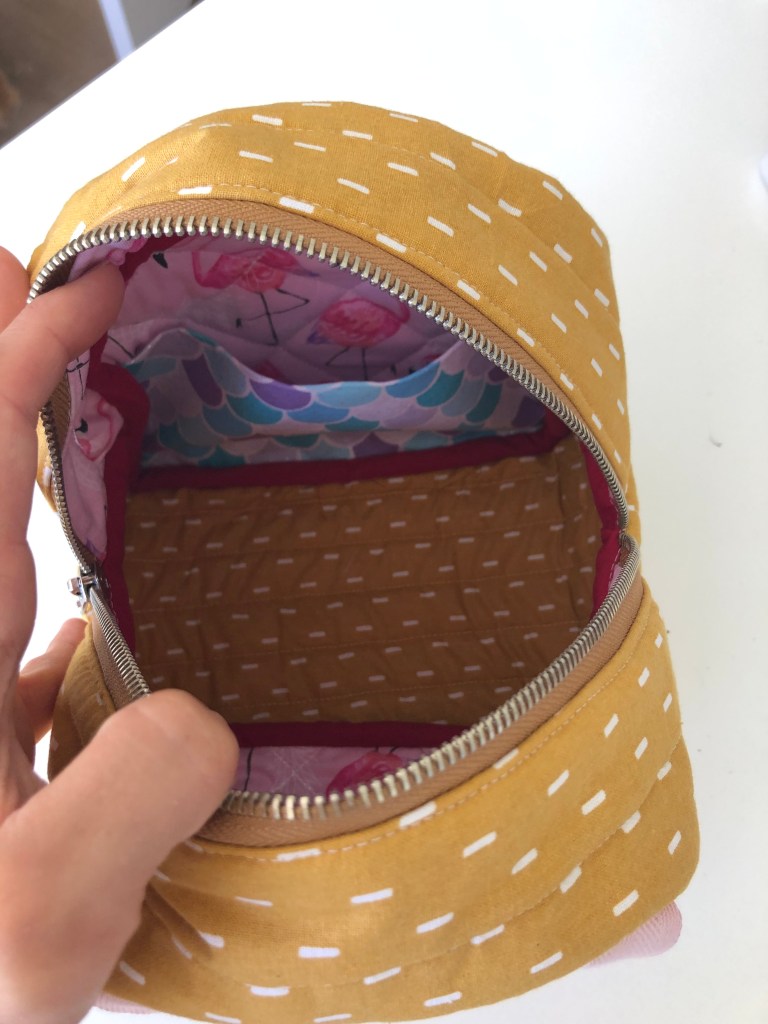
My next struggle was choosing the fabric and colours. I really don’t find the design aspect comes naturally or easily for me. I can follow instructions, and know what I like when I see it (or don’t like), but have trouble designing and envisaging. The ballerina was a starting point, then I thought I could just use scraps but nothing seemed to work. Anyway, a long story short, I ended up with some fat quarters, the yellow and the flamingos, and used some other ballerina fabric I bought ages ago at a sewing destash market. I also used some sparkly mermaid fabric for the pocket inside because I had some left over and Ruby loves mermaids. I don’t know if all the colours work on the inside, but Ruby doesn’t seem to mind! I also used Insul-Bright for my insulation layer.
The tutorial video explains the pattern and steps beautifully, but here’s a small snippet of how mine came together.

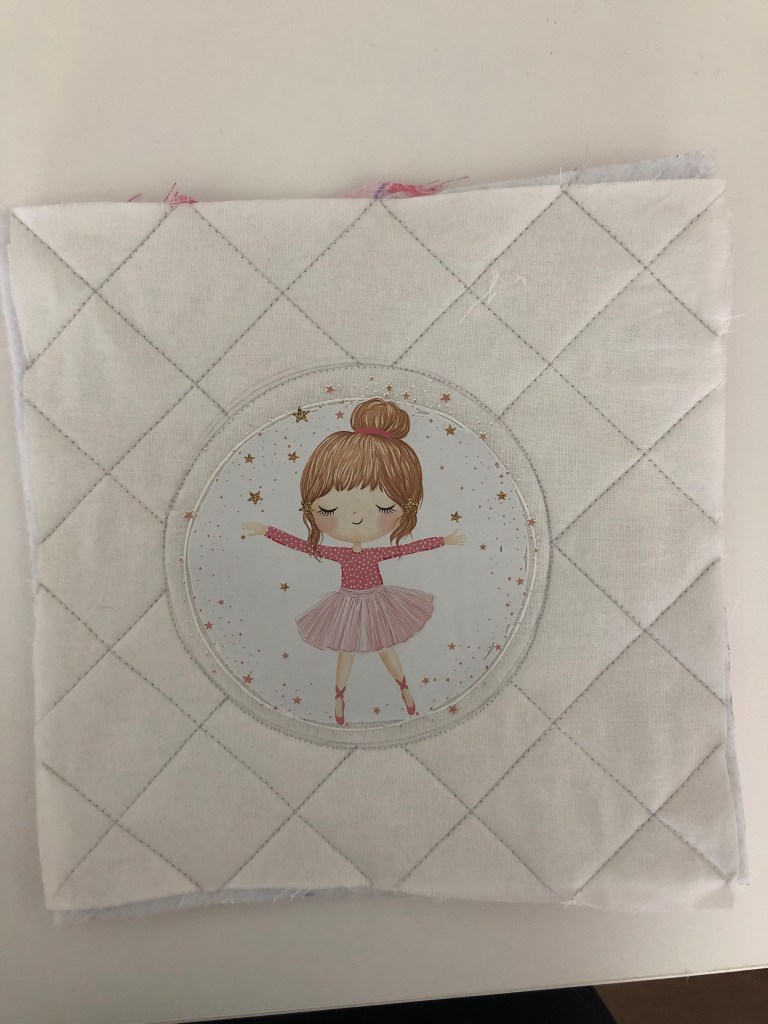
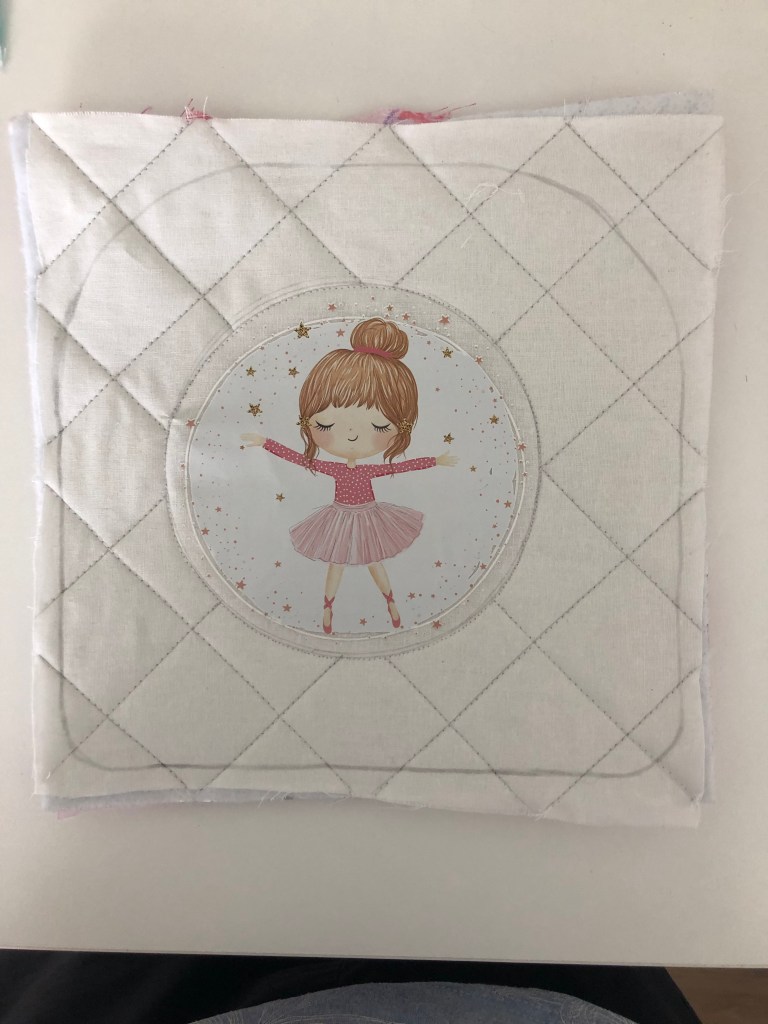
Ballerina ironed on, and quilting lines drawn. Using my fancy bulldog clips, one day I will invest in some proper sewing clips!
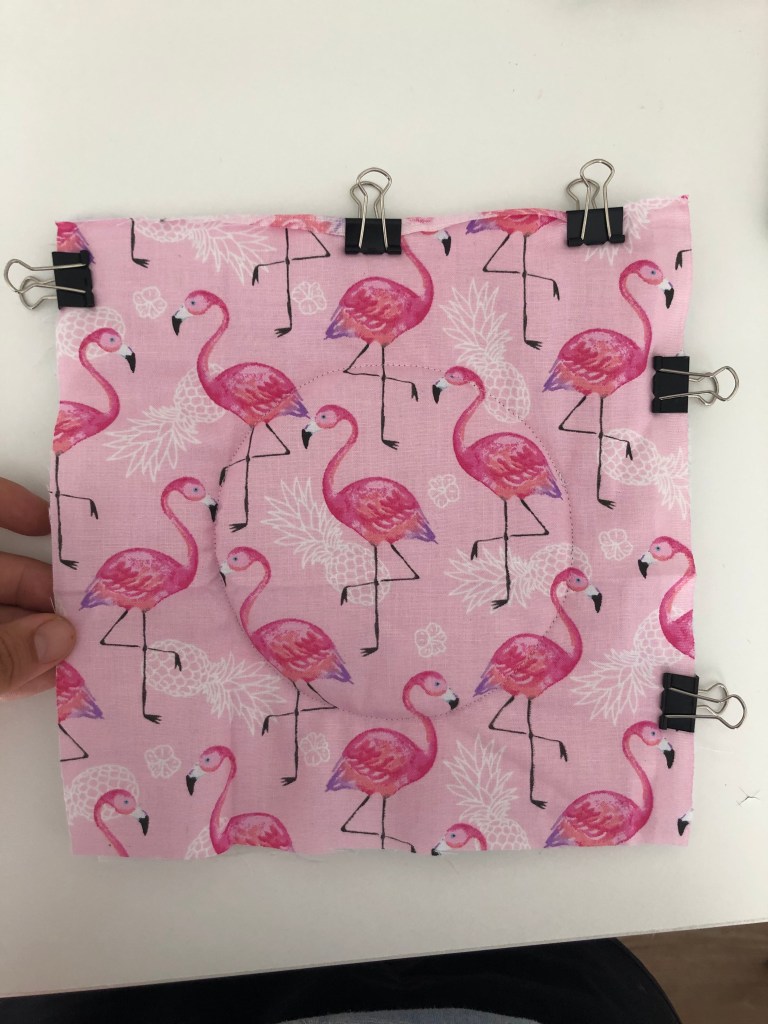
The lining/back of the ballerina front panel.


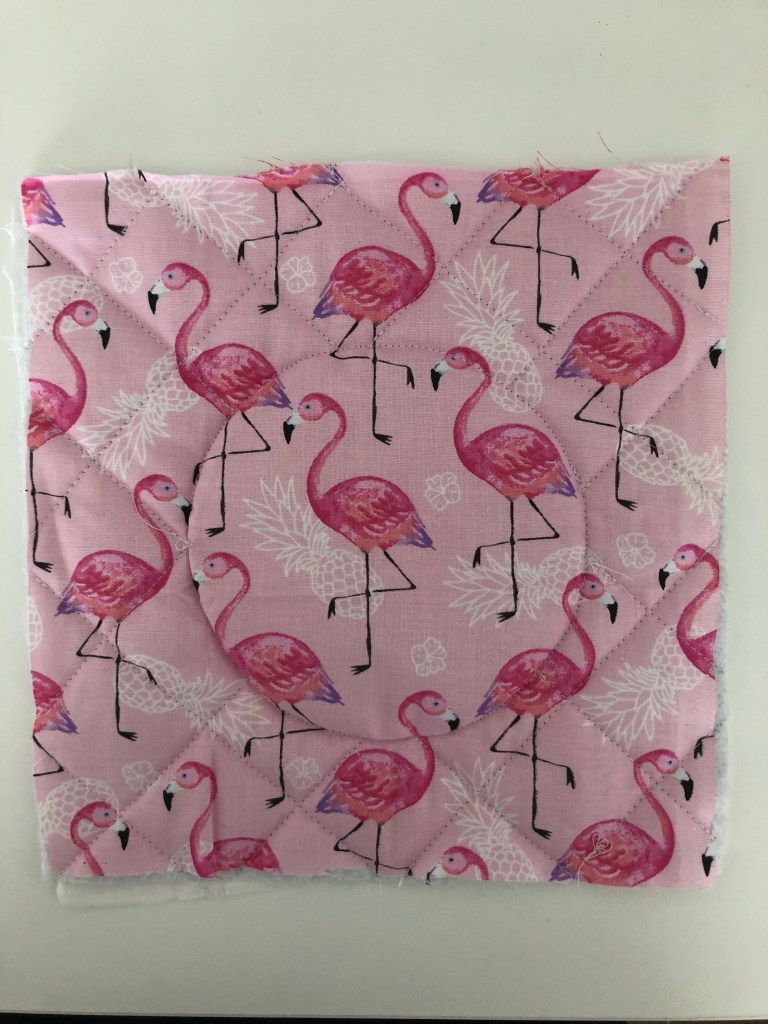
Back panel drawn with quilting lines, clipped with Insul-Bright between them.
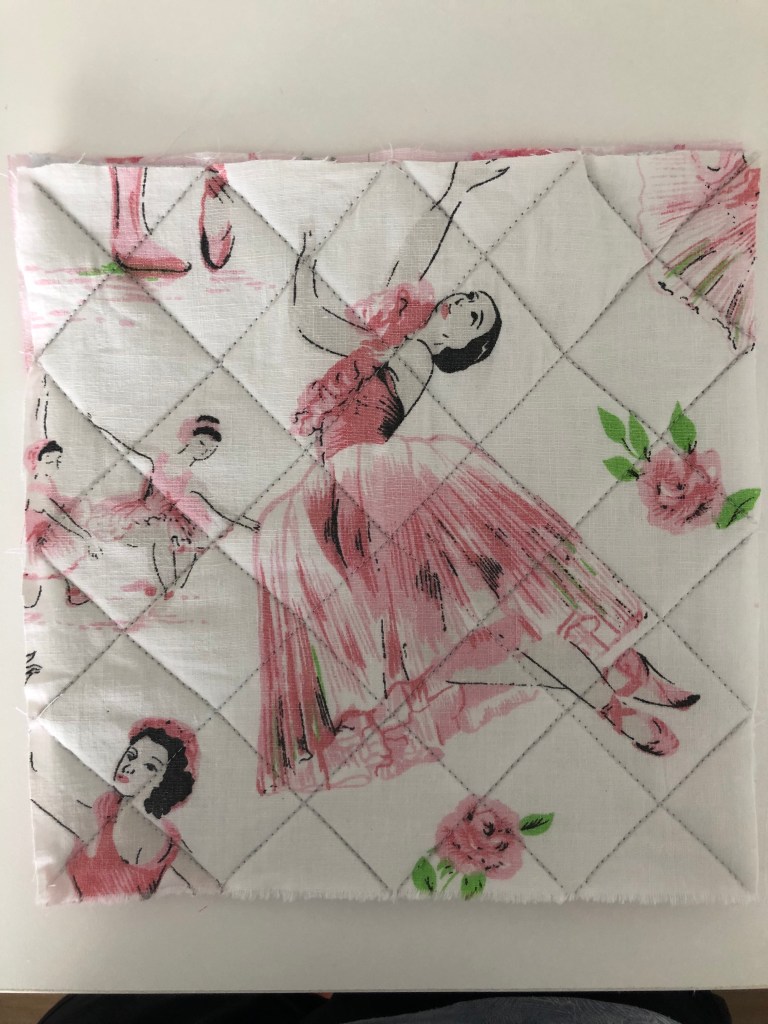
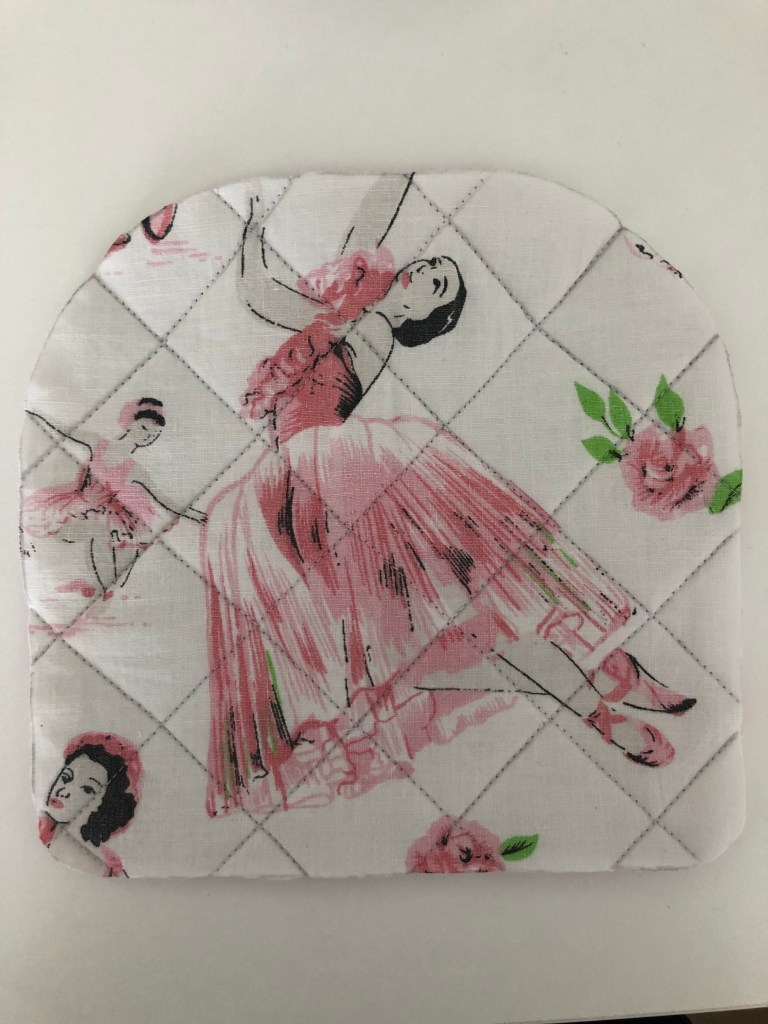

Pattern piece used to cut out front and back panels.

Pocket on inside back panel

Handles attached
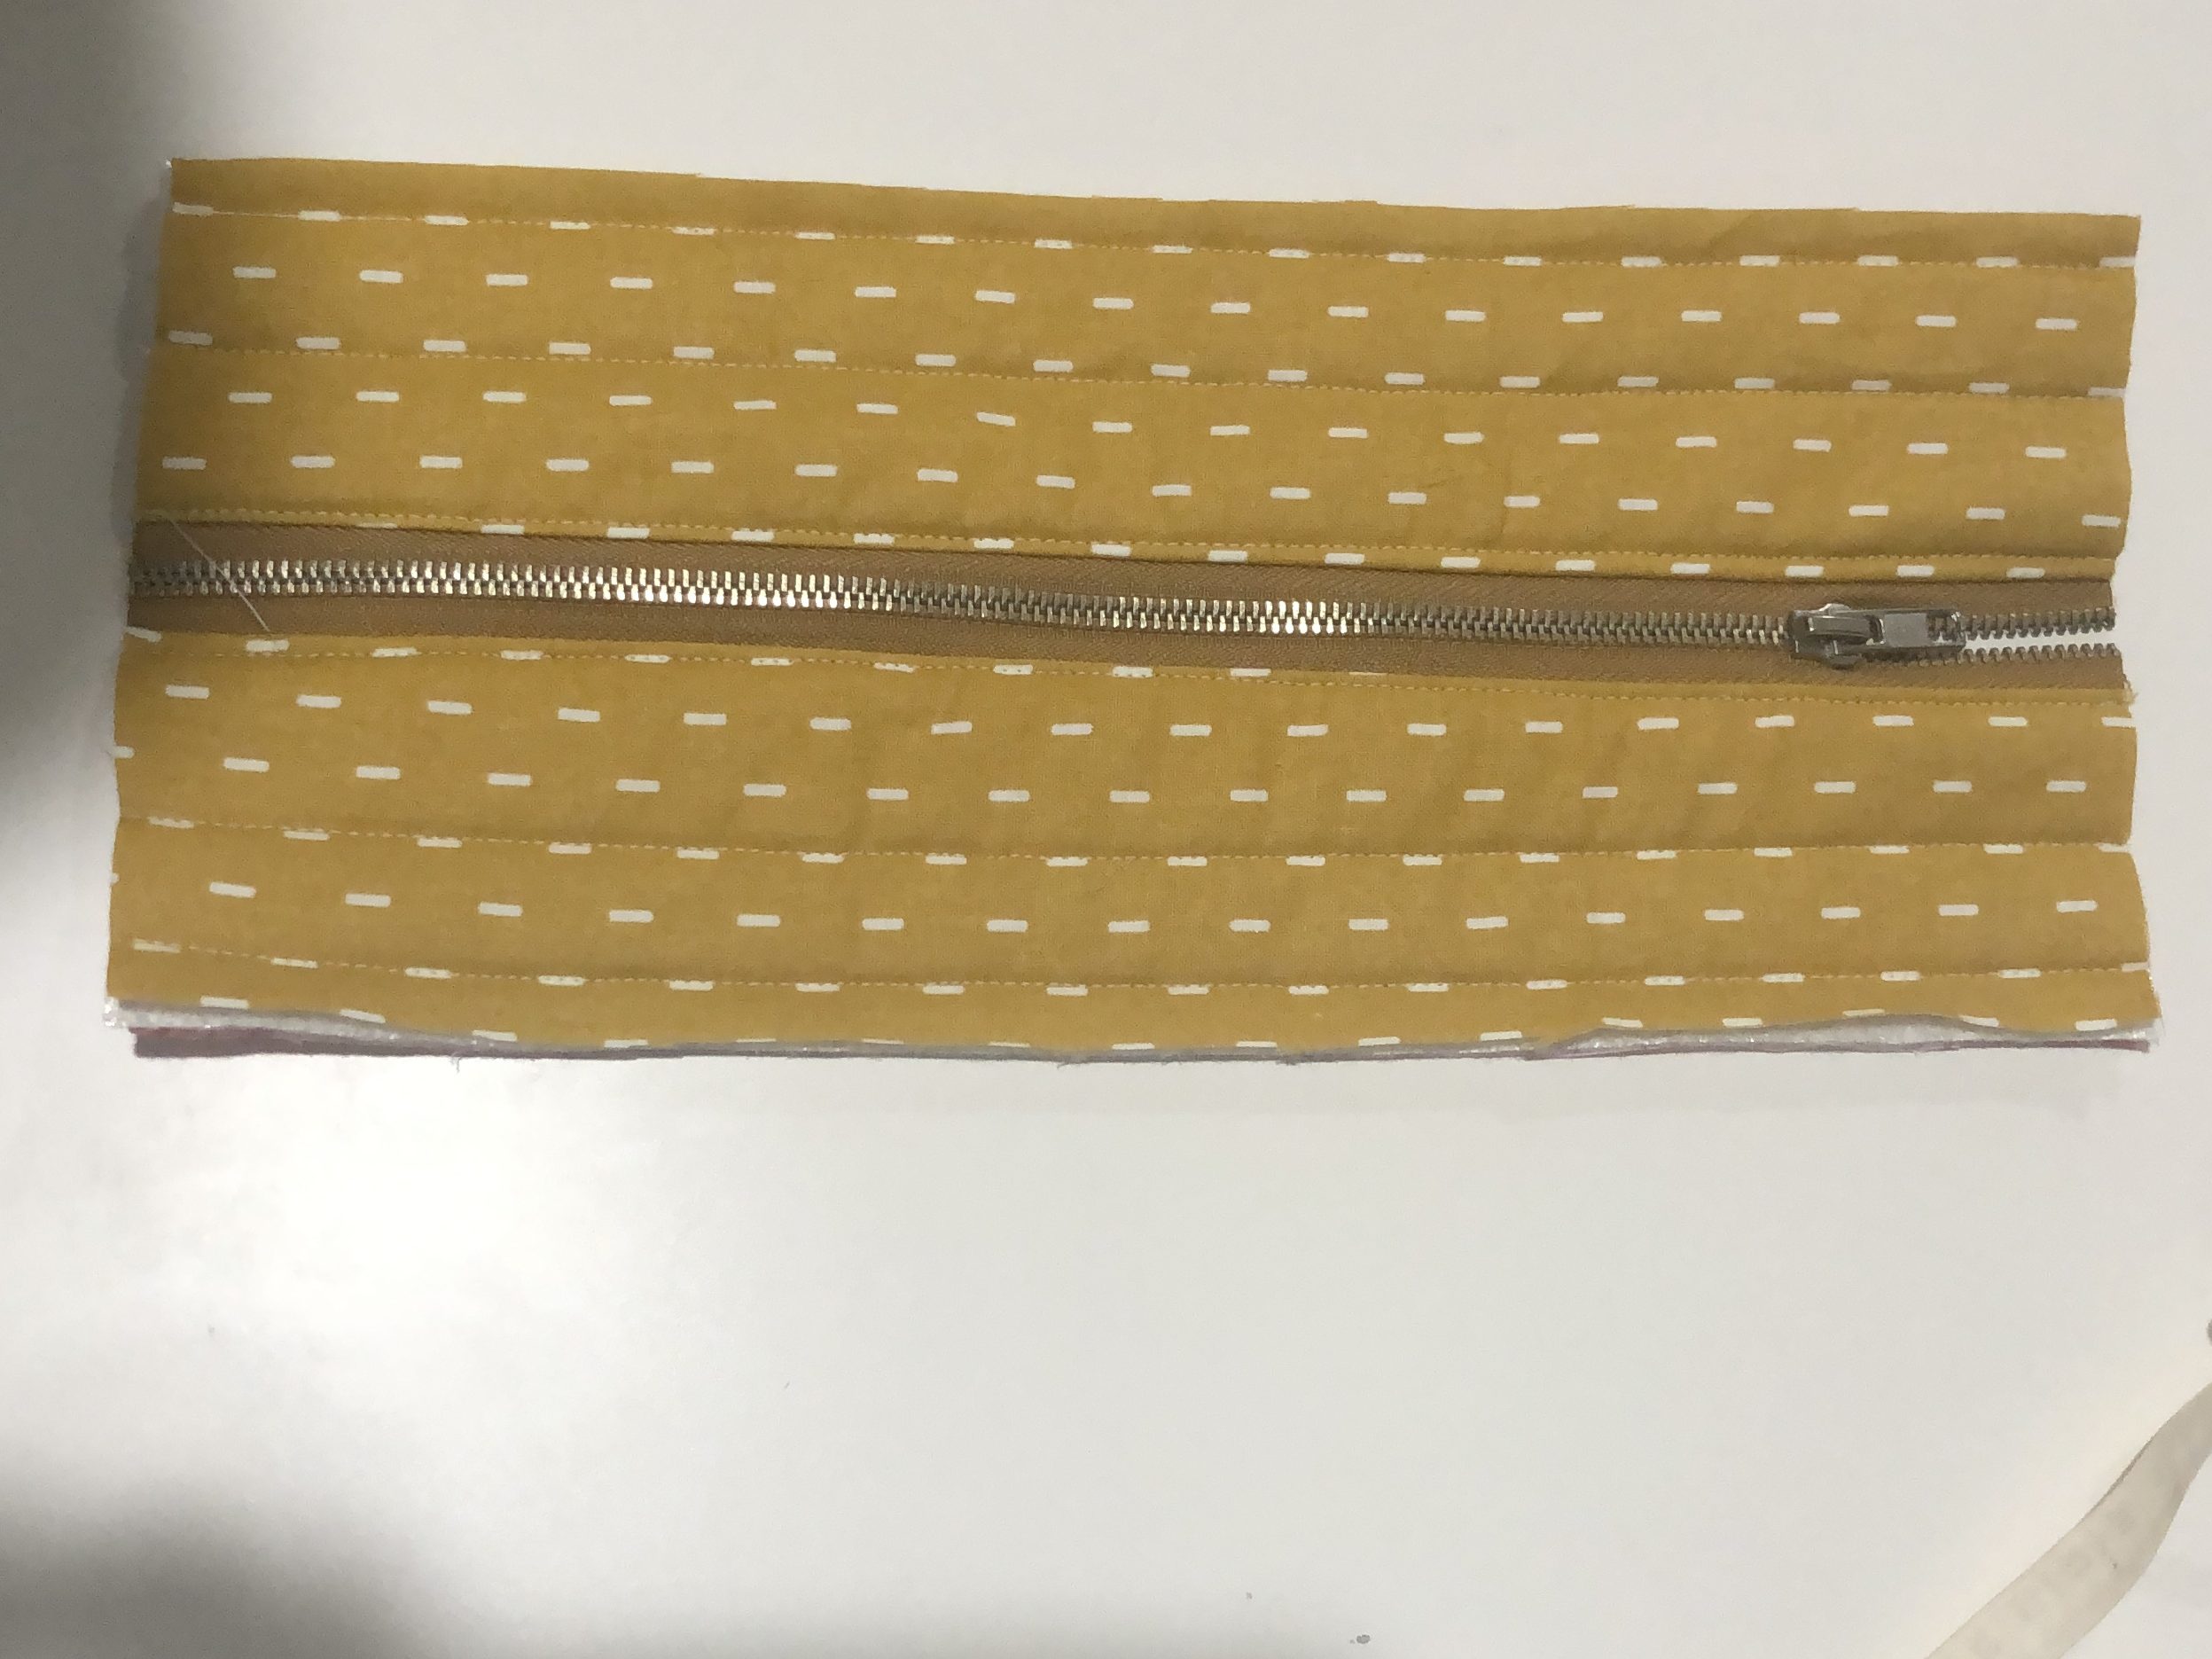
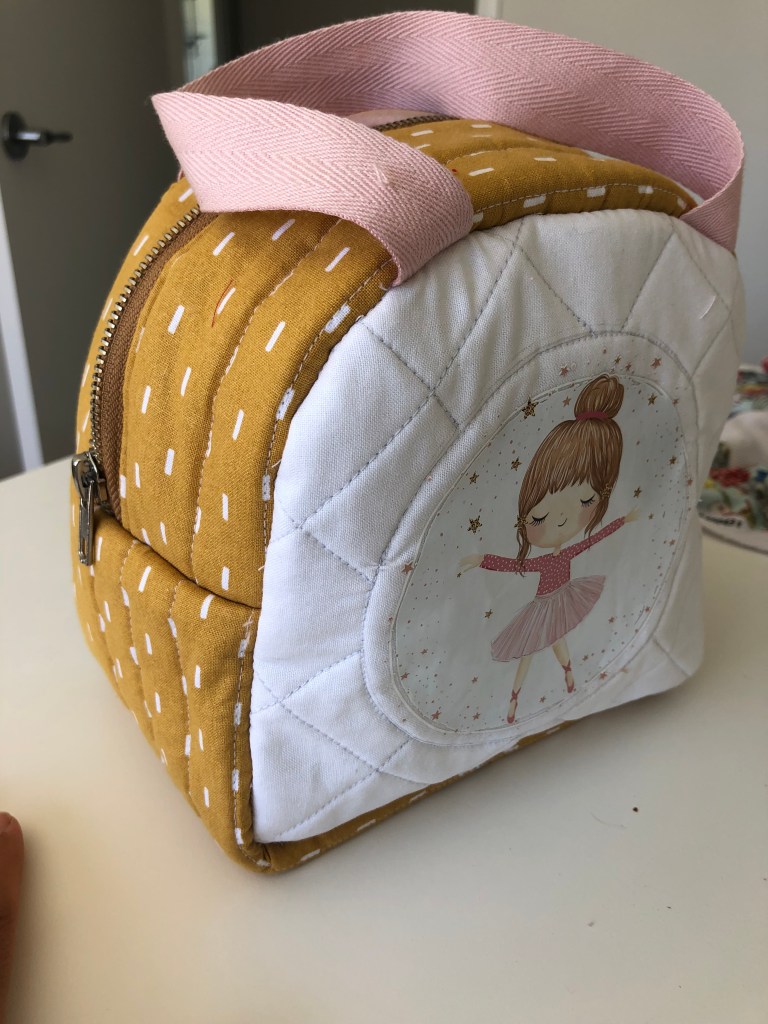
Zip placed (I used a single zip since it was all I could find at Spotlight, the pattern recommends a double), trimmed and fabric quilted with insulation batting.

Bottom panel quilted

Bottom panel and zip panel joined and seam enclosed with binding – I just used some left over pink poly cotton. Then attached front panel and binding to enclose seam.
This is where I started to find it really tricky. Sewing through the thickness, round the curves. I ended up hand stitching the binding down as I didn’t think I’d be able to do it with the machine. My hand sewing skills are very poor, and I don’t have any pictures of it! I also didn’t take any more progress shots from here! So I just attached the back panel as I did the front, added the binding and hand stitched it down. And here’s the final result! A custom made, ballerina, insulated lunch bag.


It’s been a great learning project, with new skills and techniques used. In hindsight, I’d love for it to be slightly bigger, and maybe I should’ve used a PUL for the inner lining. I usually put ice bricks in, and they will just melt and make the bag wet. I might need to make a little waterproof bag for the ice bricks to go in the bottom!
In the mean time though, I have bought a pattern for a backpack for myself that I think I’ll attempt next.. After the struggles making this bag, I’m a little nervous. The backpack is definitely more involved, with multiple zips and pockets, and I was planning to use some faux leather. I’m being open minded about it, we’ll see what I end up with. Watch this space!

Leave a comment