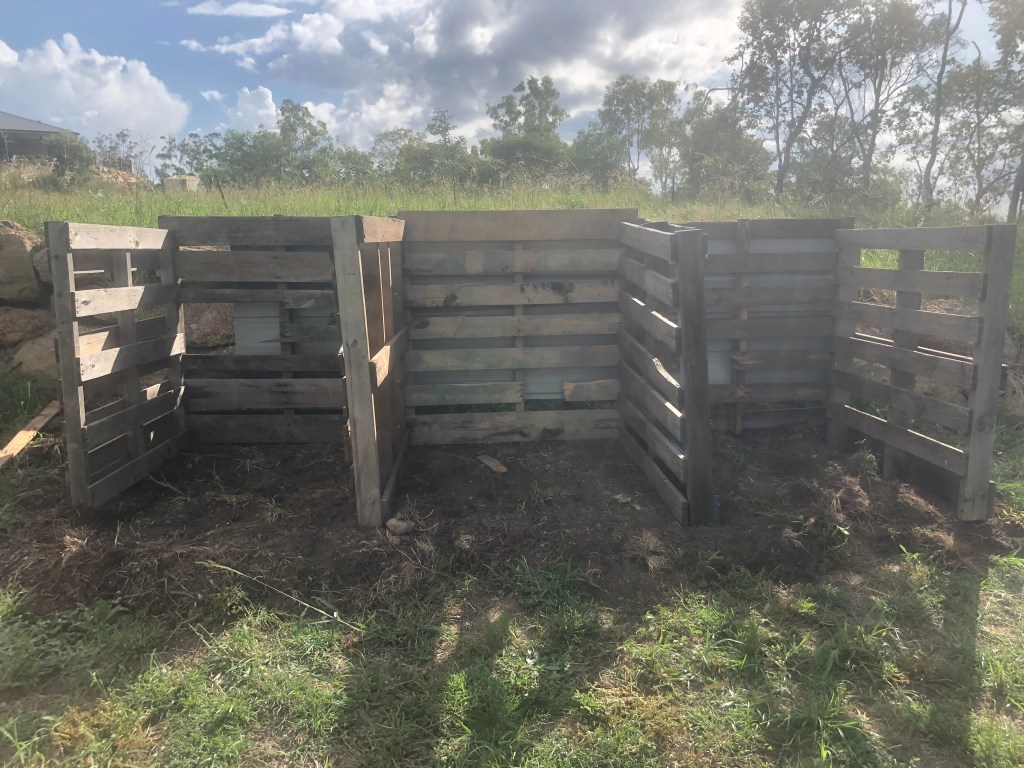
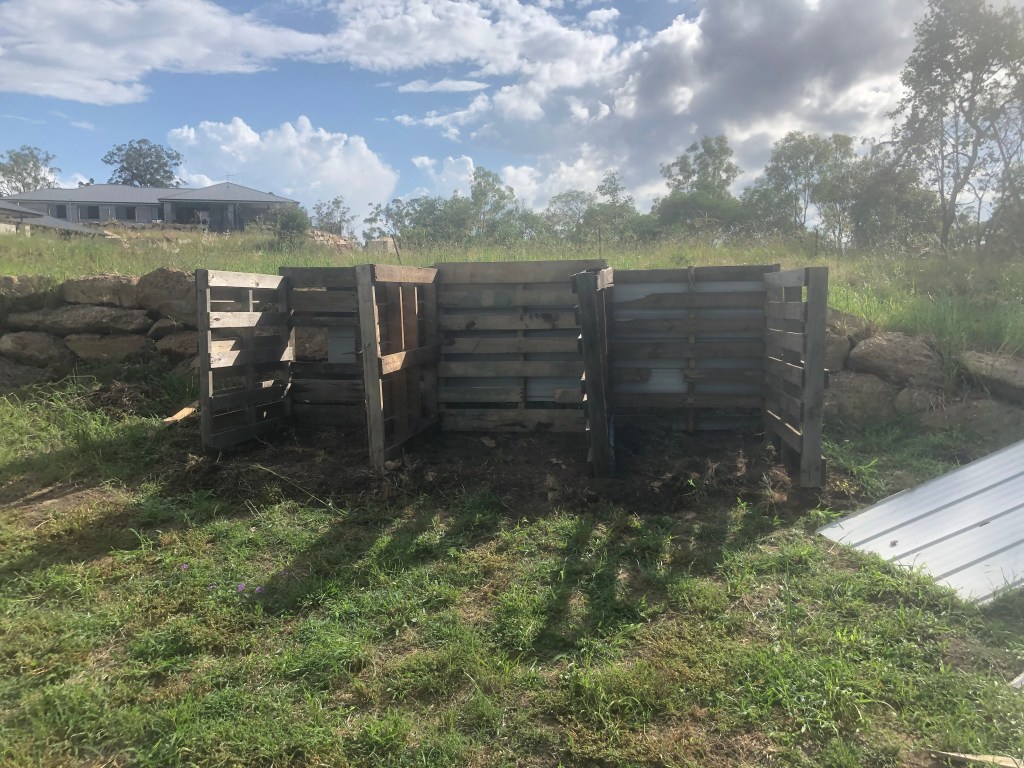
Another pallet project ticked off the list, a 3 bay compost bin. As with most projects, I’m pretty proud and excited by this. It takes rustic to a whole new level, but that seems to be my style. I originally planned to make a pallet and Colourbond compost bin, a bit of an amalgamation of some I’d seen of each individually. But again, as with most projects, the idea evolved and adapted during the process.
While I had a huge pile of pallets to use, a lot of them were looking pretty ordinary, missing multiple slates, or rotting, or just broken in multiple places. I needed 7 pallets for this project and when I started sorting through them, I was doubtful I would have enough to make it work. I tinkered with them, mixing and matching pieces to make pallets with at least half of the slates on them. This was one of the reasons I was planning to use the Colourbond panels. Essentially using the pallets as a basic frame, but the walls from the Colourbond.
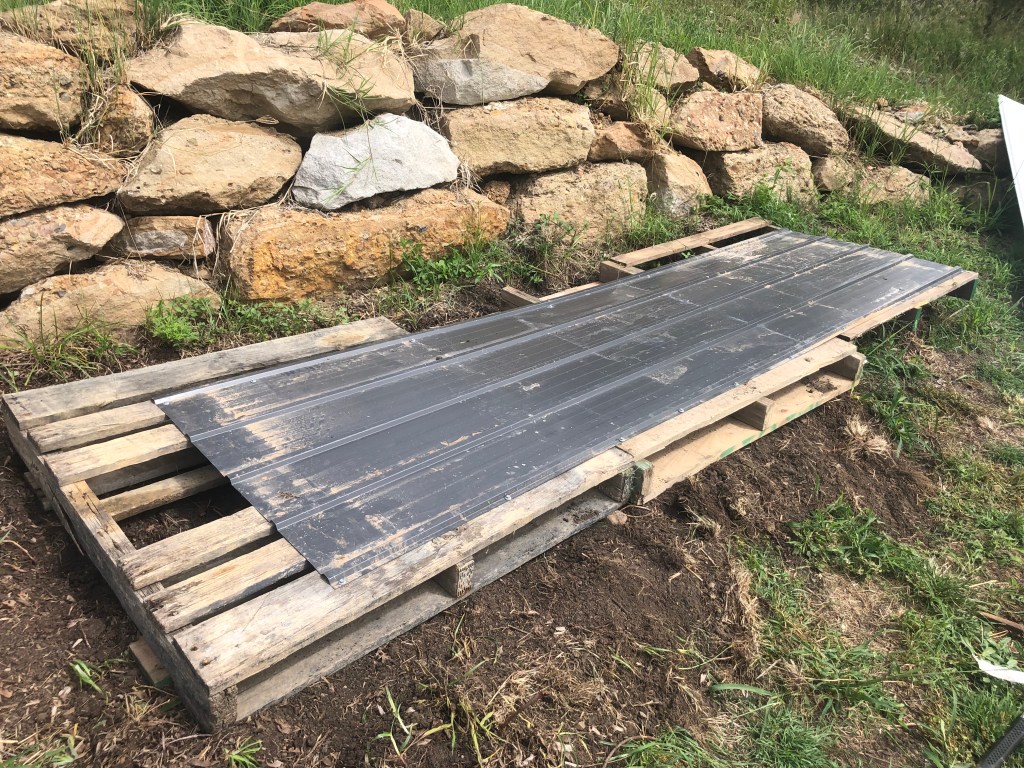
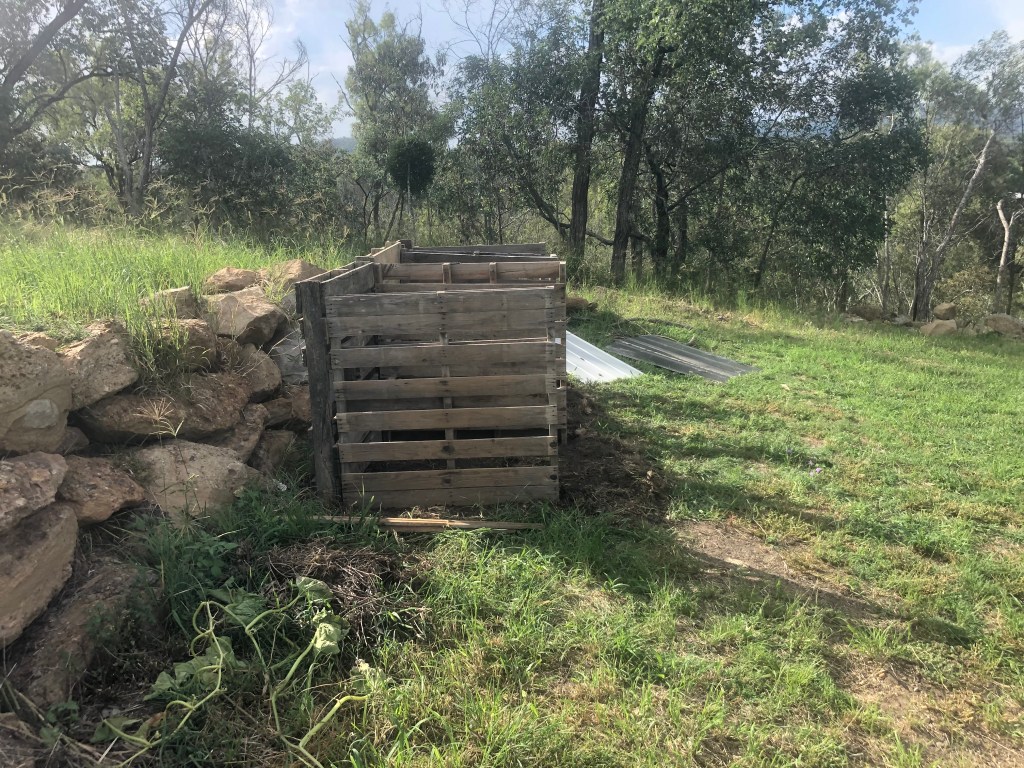
It ended up being predominately made from pallets, with just a panel of Colourbond across the back as I managed to get enough bits of pallets together that I didn’t think the Colourbond was required. I’m sure the panel across the back isn’t necessary, but I had it there, and feel like it helps hold the pallets together a little more. The panel is shorter than the whole compost bin by about 300mm, and I had planned to cut a piece to make it go all the way. Once I started trying to cut through the piece with tin snips, I decided it wasn’t that important! I might go back and have another go at trying to cut it but it was a really tedious and painful process. It’s not going to add a significant function to the project, and being at the back, against the retaining wall, it’s not visible. Seems a waste of time!
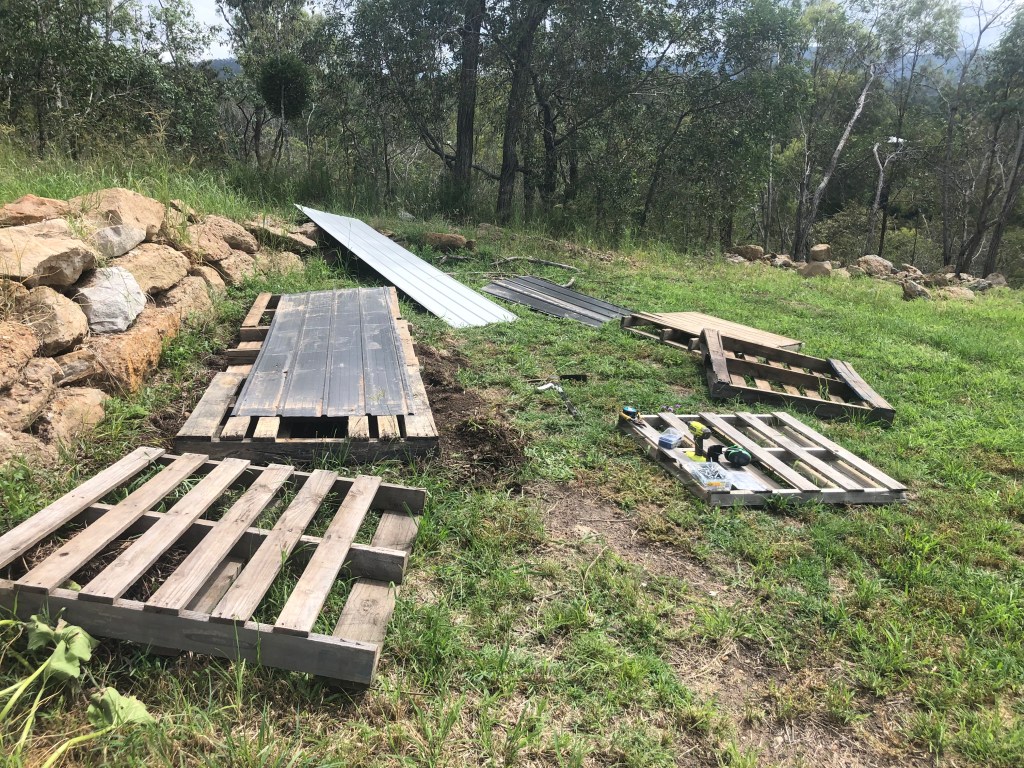
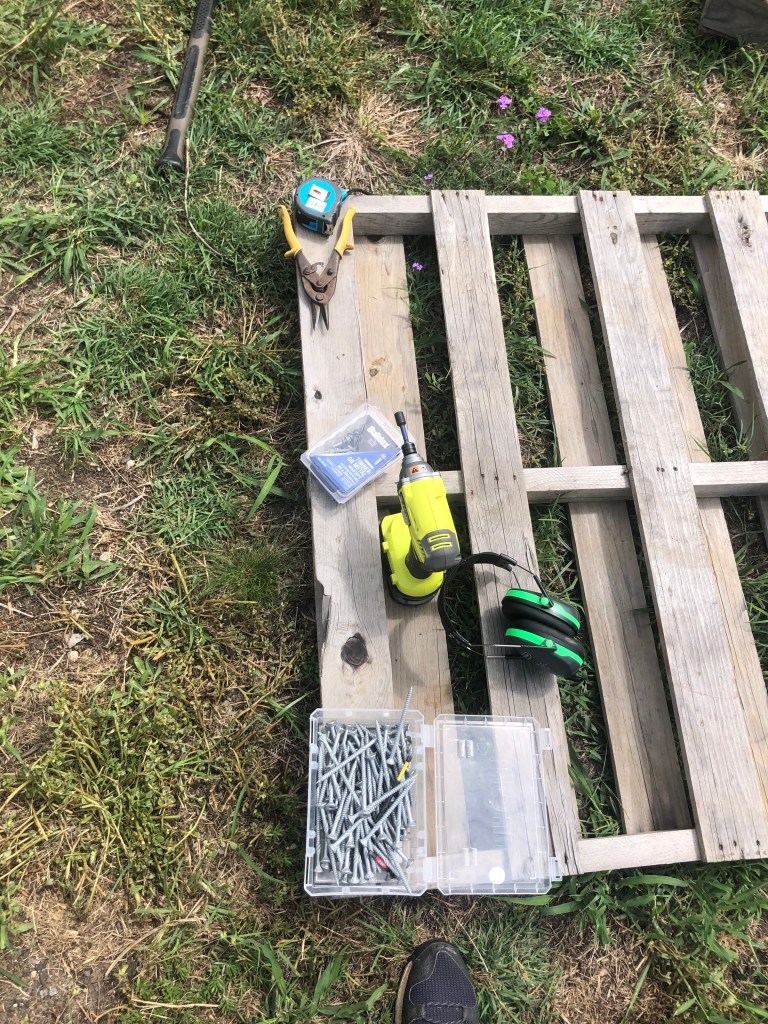
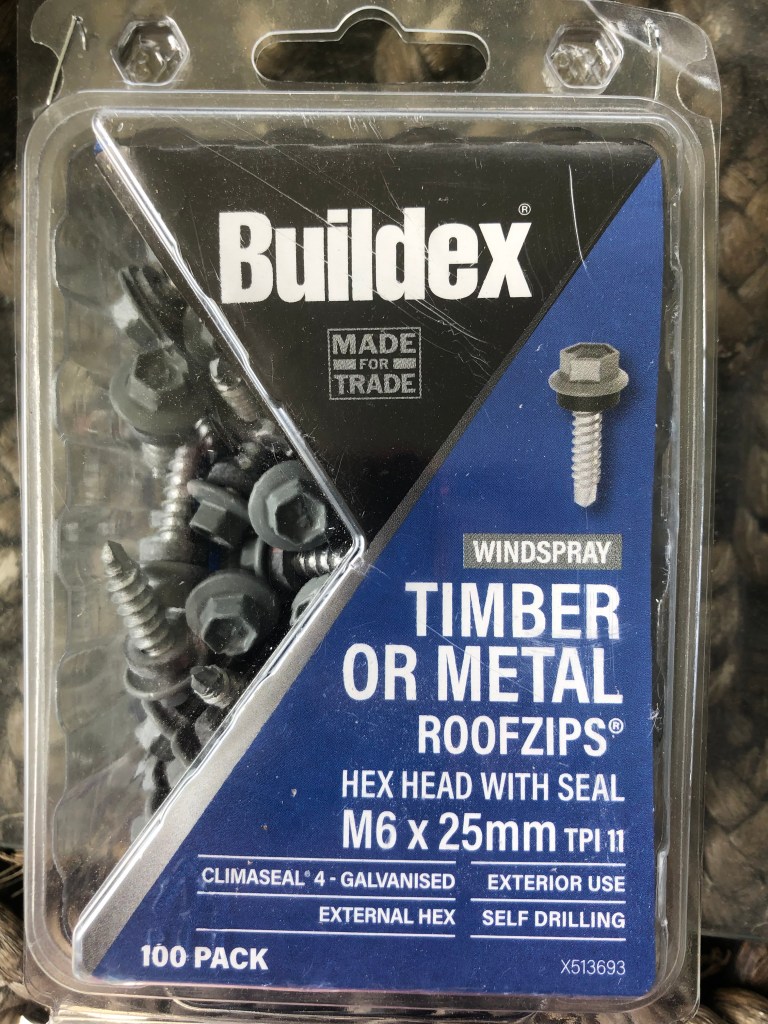
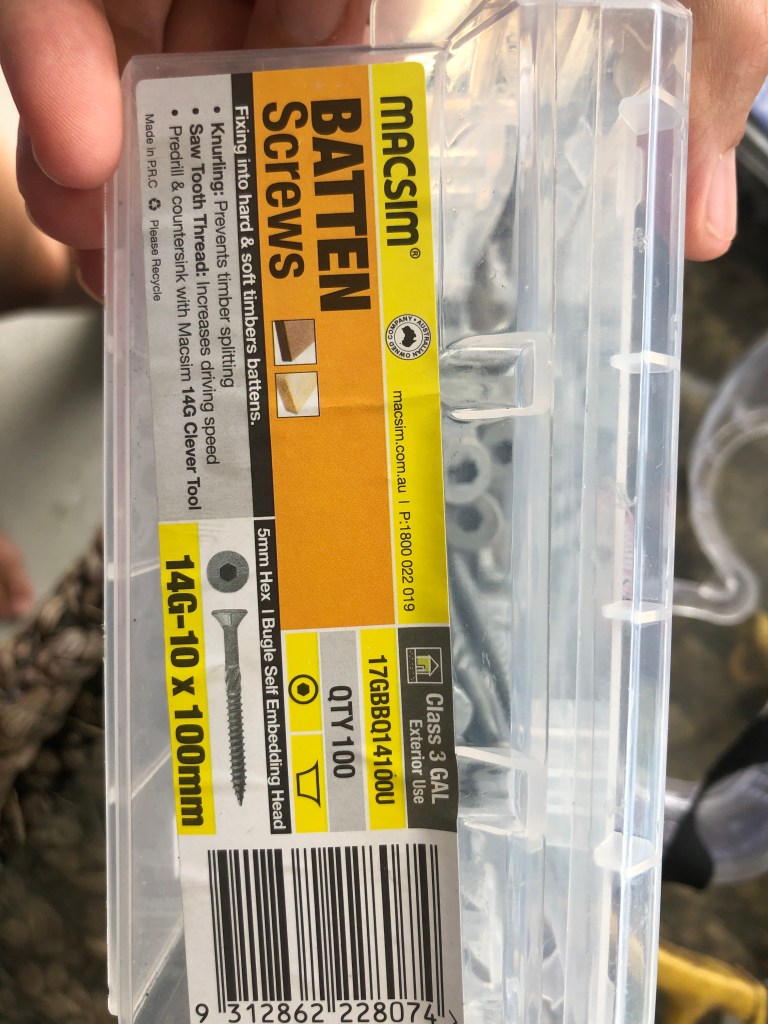
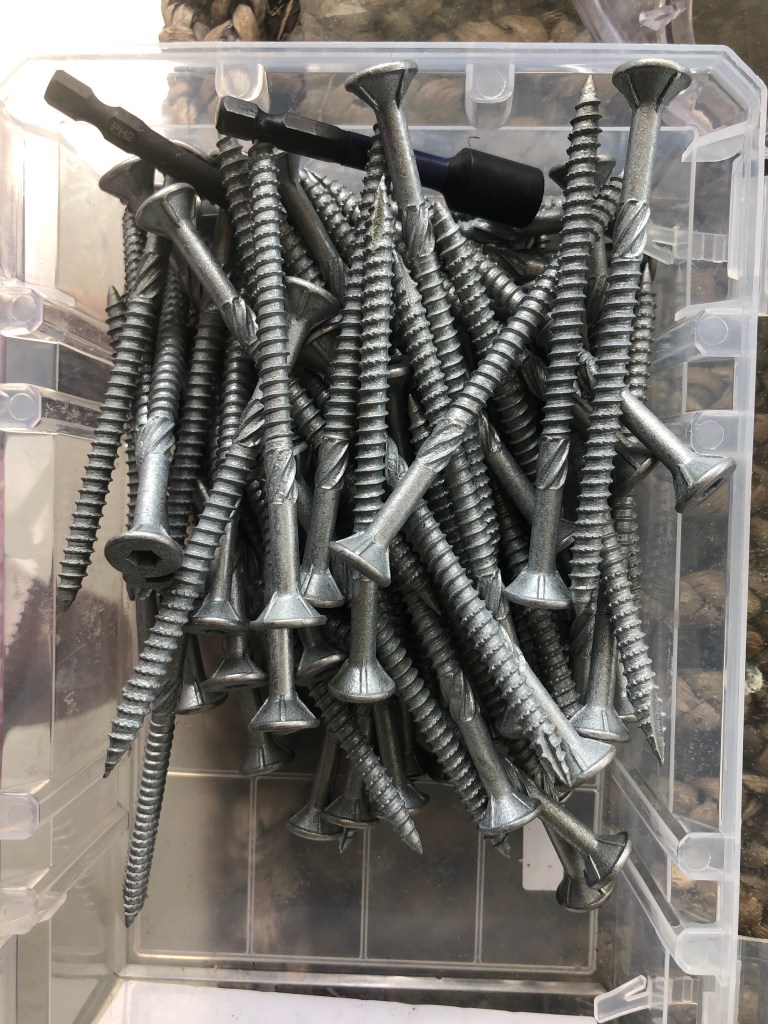
So the construction was actually quite straight forward once I had some pallets to use. One of the hardest jobs was moving them all around the back. Louis offered to carry them, but my stubbornness and eager attitude, which is always highest at the beginning of a project, declined said help. I dug out the site for it to make it somewhat level, then dragged (or flipped slowly) the pallets around the back and got Louis to drag the sheets of colourbond out for me, they’re heavier than I thought! I choose the worst of the pallets for the back panels/wall – 3 across. I screwed them together with some pretty serious batten screws, and my new impact drive, then lay a piece of Colourbond over the back, and attached with roofing screws.
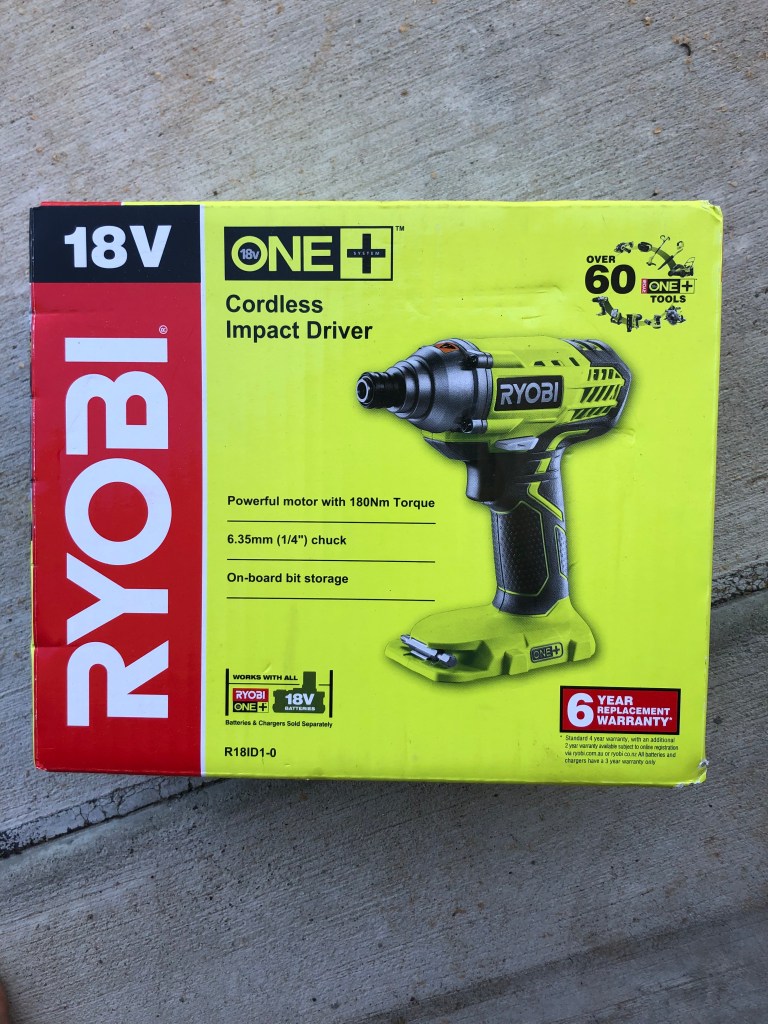
The impact driver was amazing and essential I think. I was visiting my parents recently and asking for advice on this project. My dad suggested an impact driver, and my parents very generously bought me a new one, gave me a quick tutorial and sent me on my way.
Dad also donated an old angle grinder, large circular saw, belt sander, planner, tin snips, some drill bits, spanners and a box of other bits and pieces! I feel like I need a shed or workshop now 😉 but I digress!
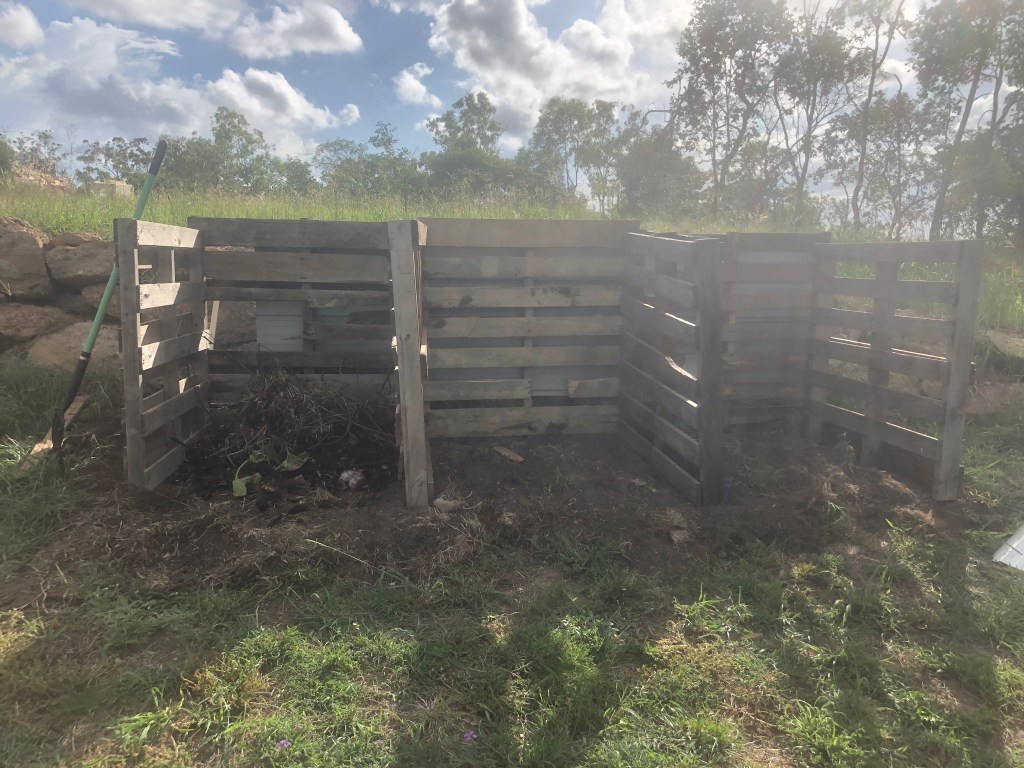
Once I had the back panel together, and accepted I wasn’t adding the extra Colourbond, I needed Louis’s help to stand it up. I had reached the point of the project I was ready to accept help to save myself injury and get it finished! We stood it up, put the other pallets in position and Louis helped hold it all and line it up as best possible while I screwed it in with the batten screws.
Each pallet is a slightly different size, so it’s definitely not square or even at all. But those batten screws seemed to just pull it altogether and hold it in place! Thank goodness for the impact driver.
I’d like to put some slates across the front that slide up and down to help hold the compost into place, but for now, I’m happy enough to say it’s project done!
In hindsight, I should’ve laid a good thick layer of cardboard underneath. There is a gap behind the compost bins, between the retaining wall, that will be tricky to get to. Louis is going to try and lift the whole thing up so I can slide some in there. It will be a tricky job now, but worth it in the long run to help with the weeds in there.
So here it is, my 3 bay compost bin, which I am likening to The Burrow (from Harry Potter).
Next up we have our food forest install happening mid April which will be very exciting, and I have a lot of smaller projects I haven’t posted about yet, so I will aim to do that, while planning my next big building project with my new tools!

Leave a comment