
Ah finally, a pallet project! A mud kitchen for Ruby. After years and years of saving pallet projects on Pinterest, my time has come! And just for anyone from another generation, a mud kitchen is just an outdoor play kitchen of sorts that kids can use to make mud pies, and just a general mess. A modern day, fancy version of old school playing in the mud! Let’s be real, these mud kitchens are much more about us parents than the kids. I enjoyed making it, and if Ruby uses it, it’s a bonus!
I’ve been putting off this post because it’s not ‘finished’! But it’s finished enough for now. Ruby is enjoying it, and I will continue to add to it over time, maybe a sink built in, some more kitchen accessories, some more plants around it etc!
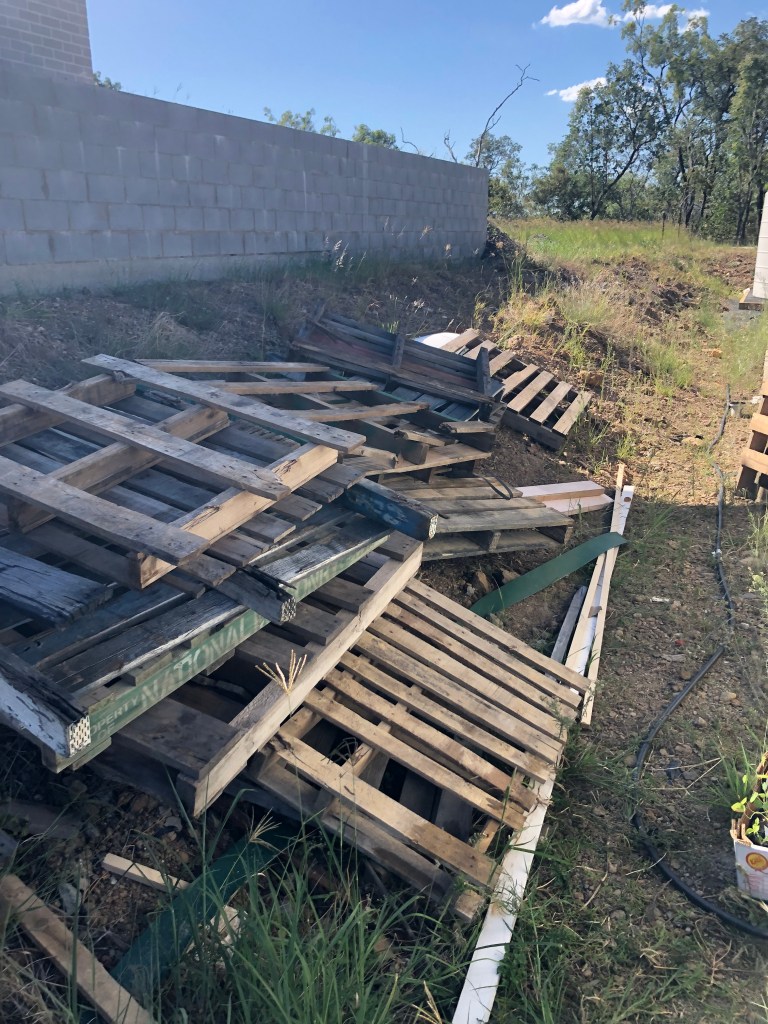
So the making of the mud kitchen.. what a journey it has been! Getting the pallets was an adventure alone. Driving around the neighbourhood in a neighbours manual van was fun so deserves a special mention, Louis got a pretty impressive cut on his knee that probably needed a tetanus shot and stitches, but it’s healing well! I think it’s safe to say for future pallets, it’s worth paying a small fee to have them delivered.
I originally planned to make a 3-4 compost bay but decided the mud kitchen was easier for some reason. I used some pictures online as a rough guide, and a Bunnings DIY video as the basic construction. But it evolved as it came together, based on what I had, and different pictures I’d seen.
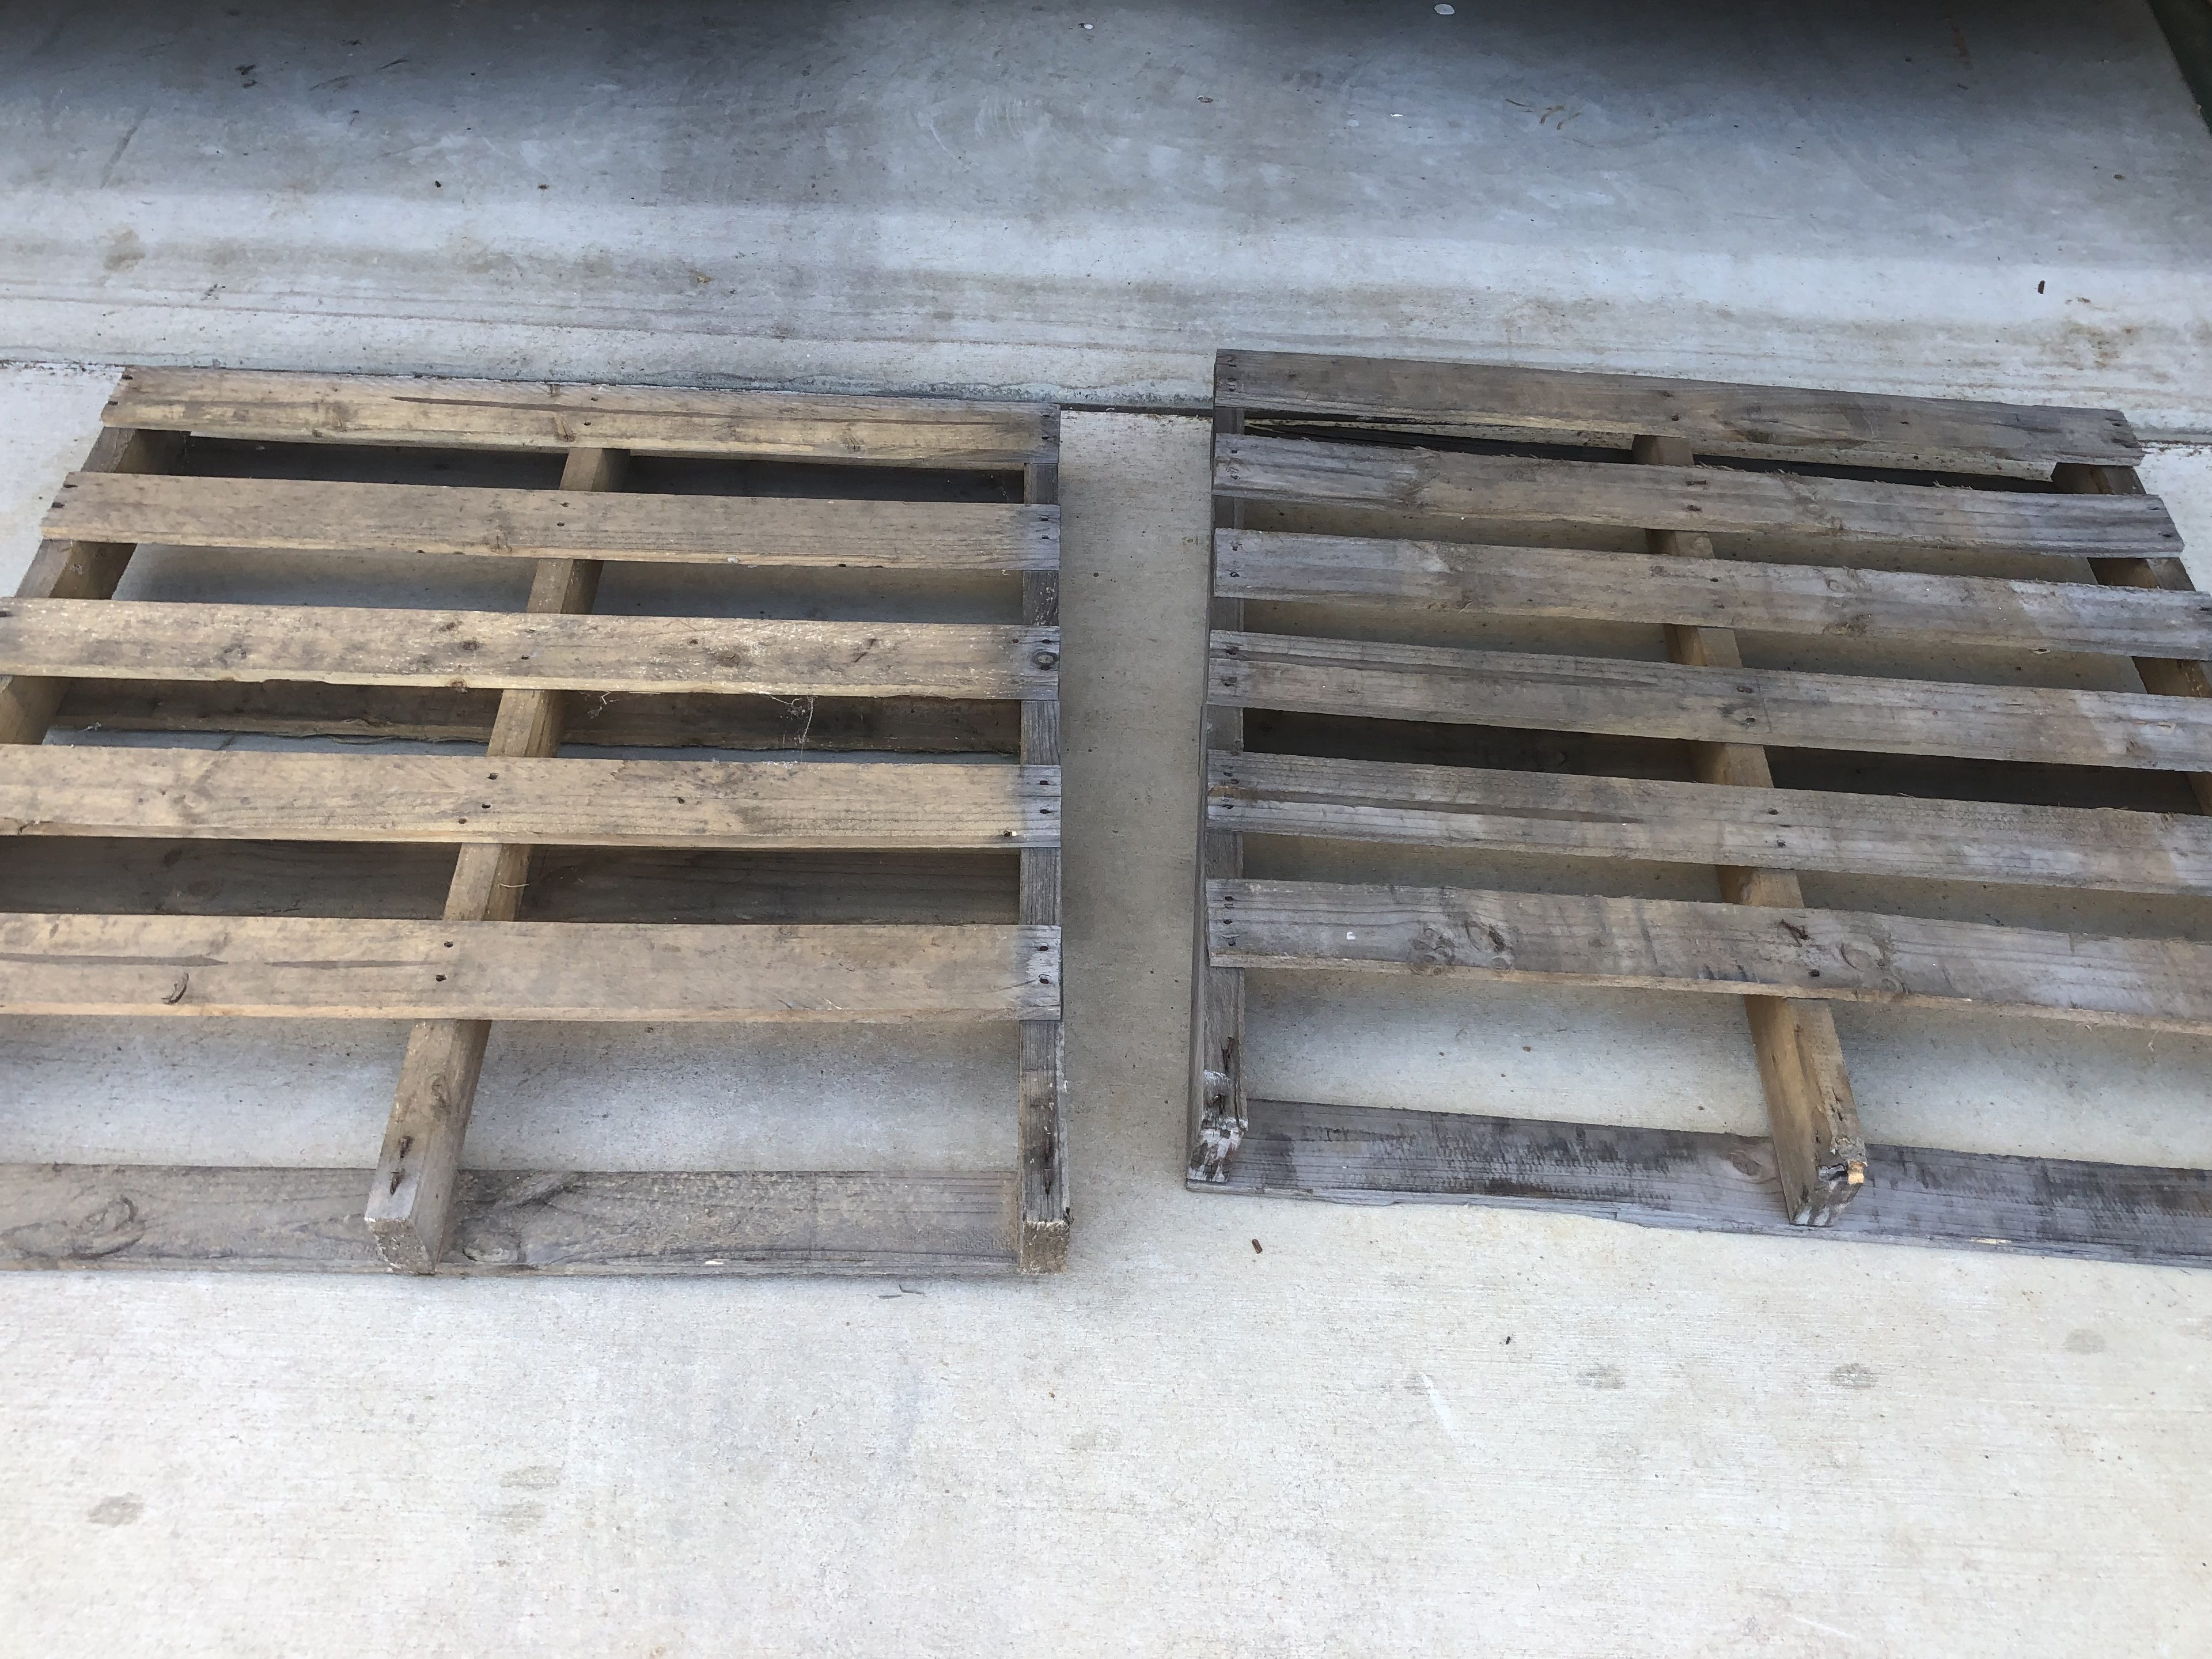
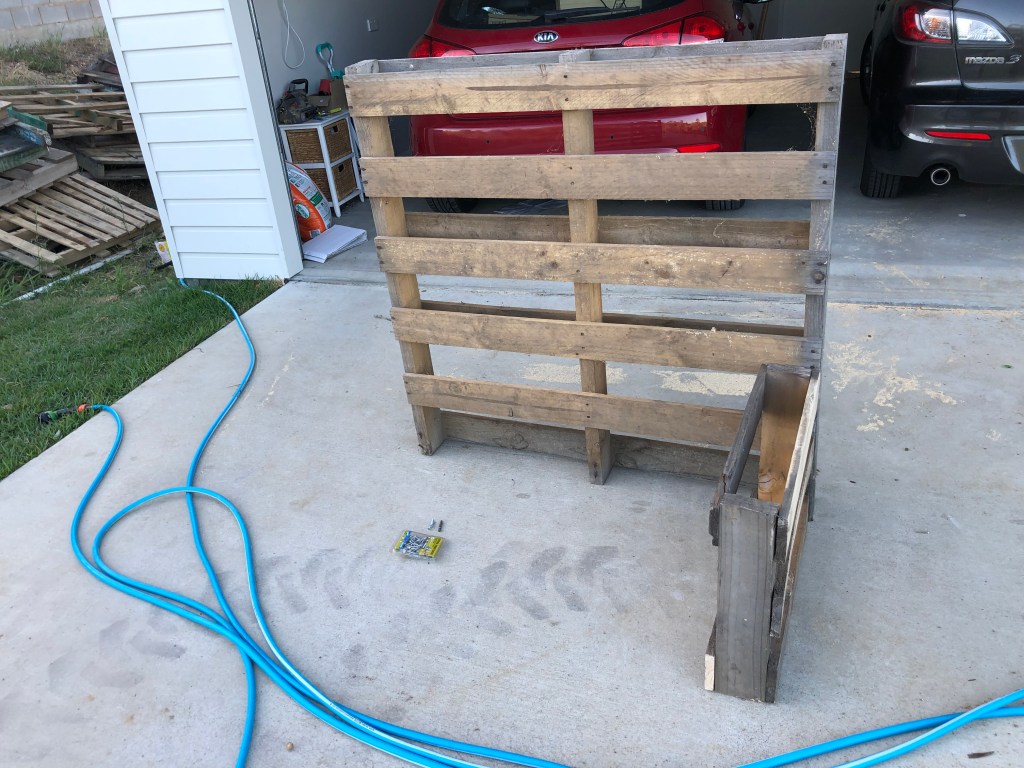
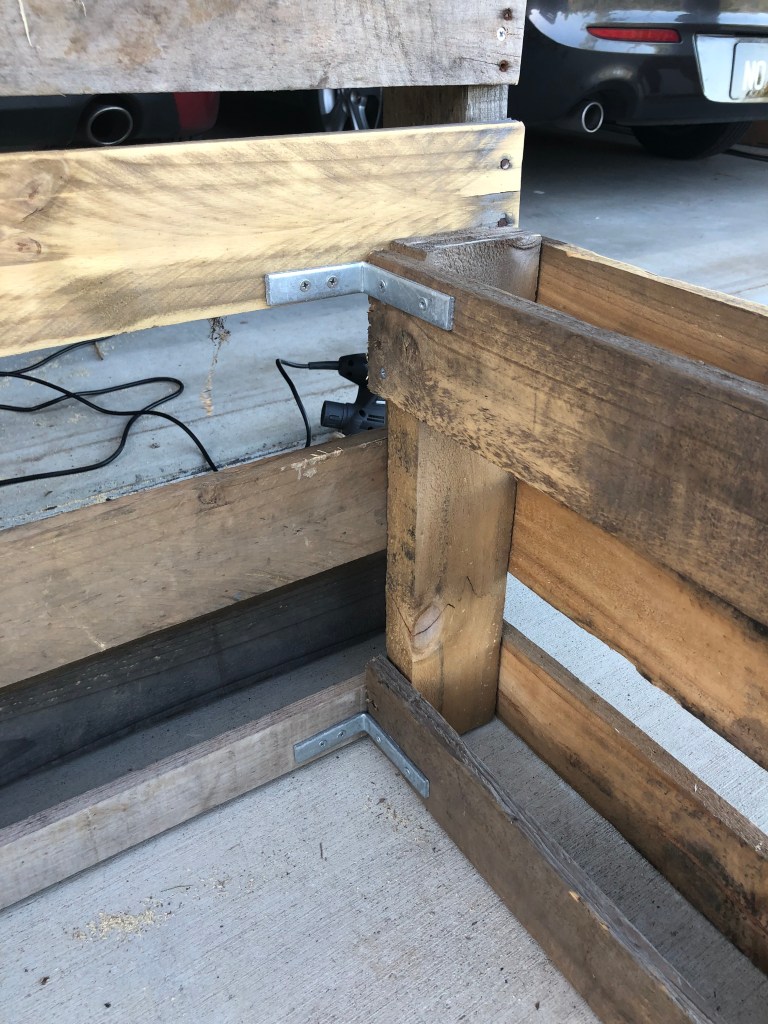
The project overview: back pallet, roughly sanded, added some extra palings to fill in the gaps. Cut another pallet to make the legs – screwed on with L brackets. Roughly sanded the exposed sides. Made a bottom shelf from another smaller pallet – just cut it down and sat it on the legs. Made a bench/top from another pallet – dismantled one, and attached the palings closer together. It’s just sitting on top. Then I had to make a little platform/step because it was too high for her.
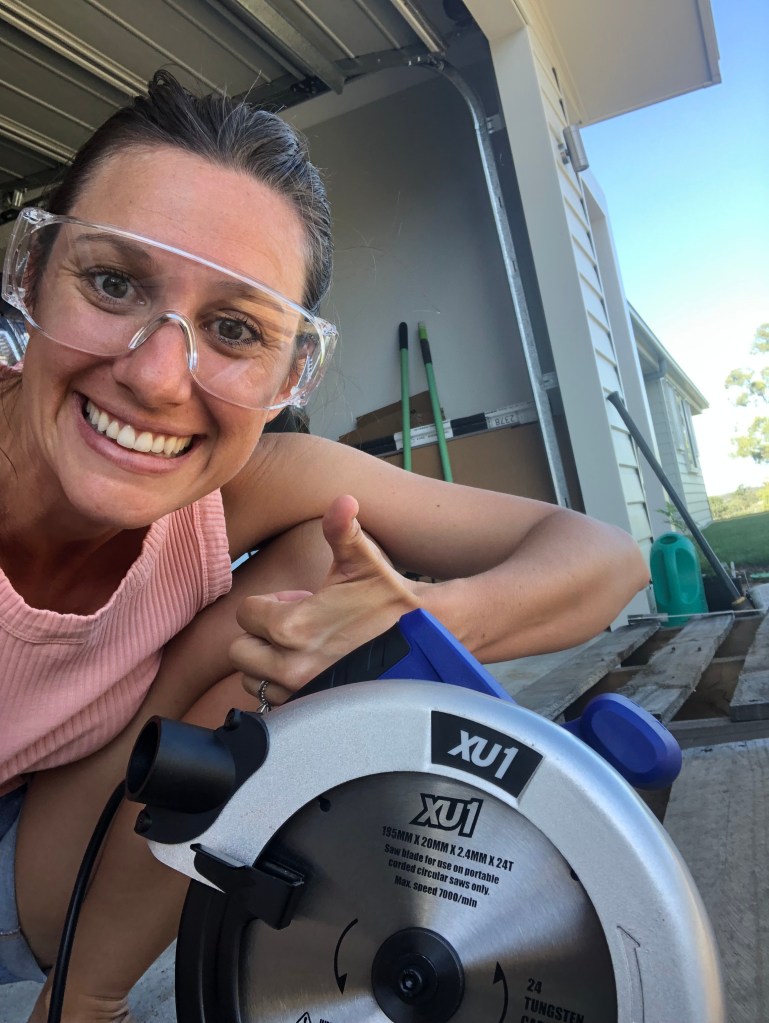
I learnt a lot from this project. We bought a circular saw and I used that for the first time, along with a belt sander and reciprocating saw. It seems simple enough in hindsight, but each stage was a challenge and learning curve. I was being quite stubborn about wanting to “do it all myself”. I don’t know what I was trying to prove, but quickly got over that and ‘let’ Louis help! I did insist on using the circular saw first, but ‘let’ Louis have a go once I needed to stand it on the side to cut the thicker timber. He is also much stronger, and could pull out the nails much quicker and easier than I could.
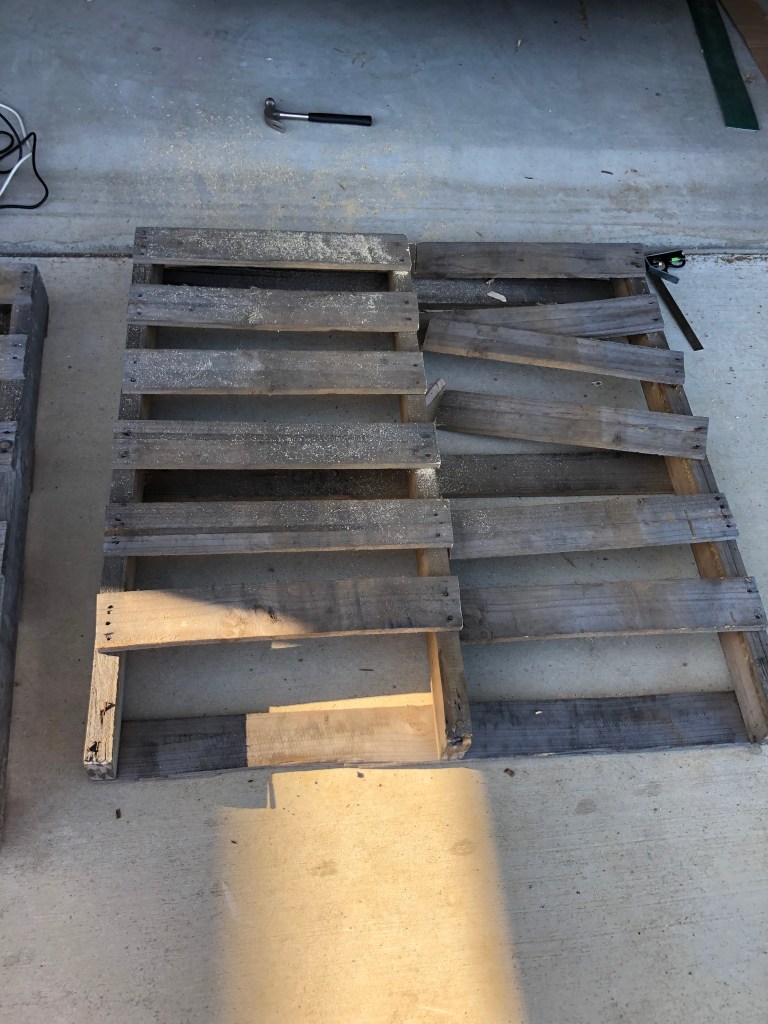


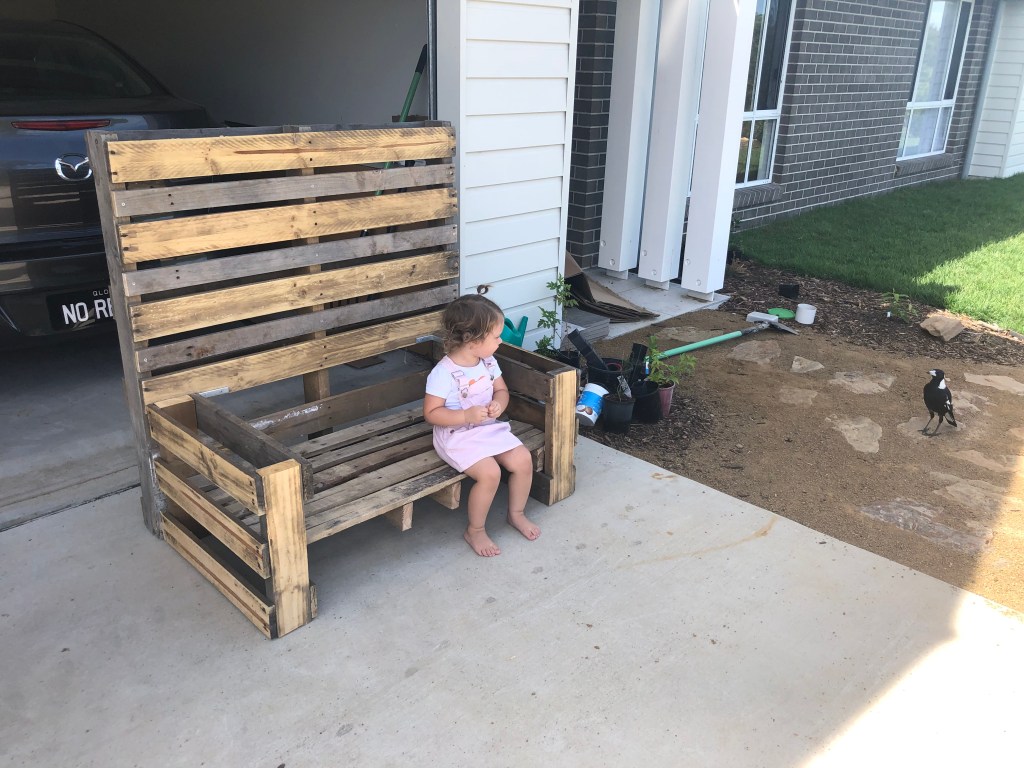


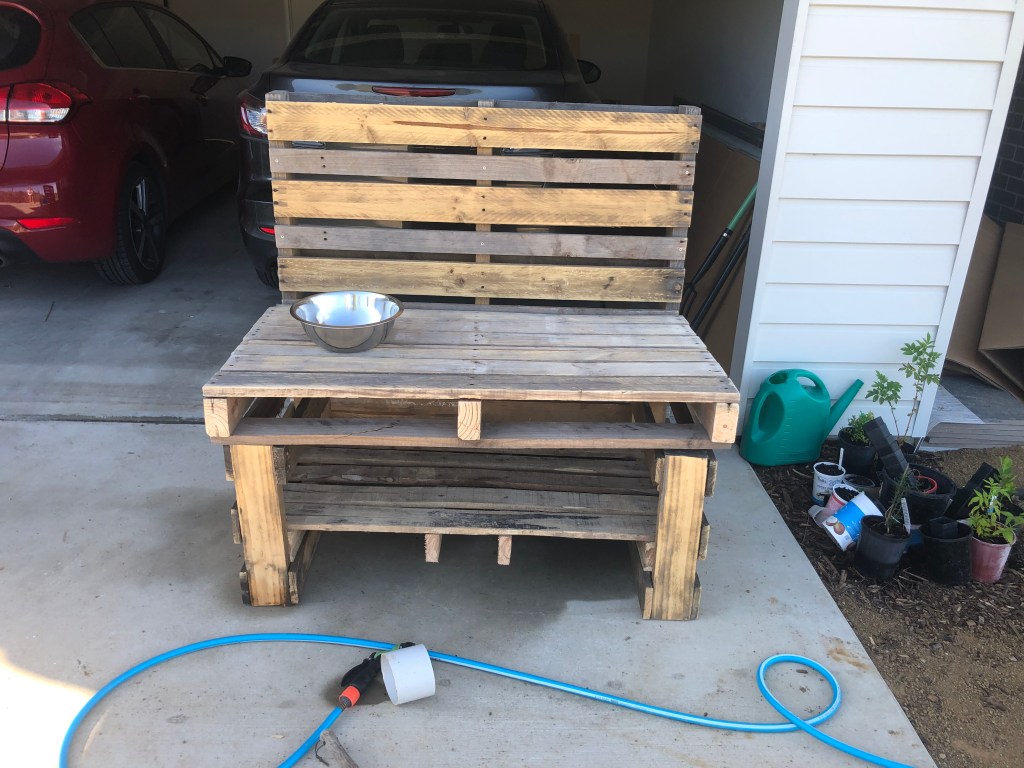


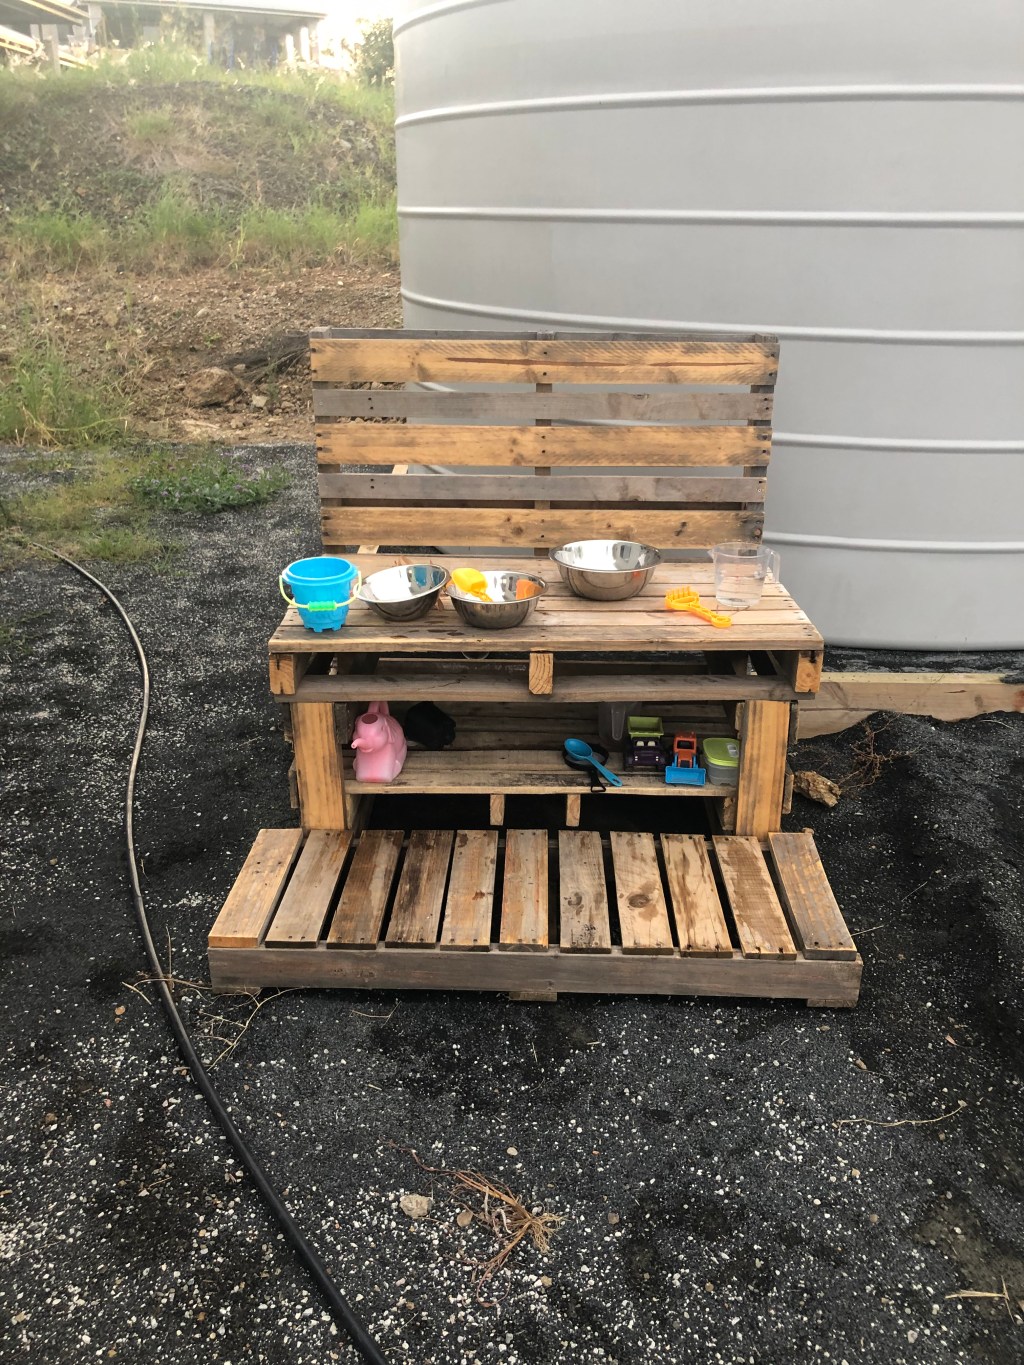
I had a lot of trouble getting some of the palings off the pallets, they weren’t lifting off like some videos said they should. The timber was just splitting and the nails left behind. I saw a video on YouTube that suggested a reciprocating saw to cut the nails off. So borrowed a saw, and that seemed to work well. And the result. A homemade, rustic, pallet mud kitchen!

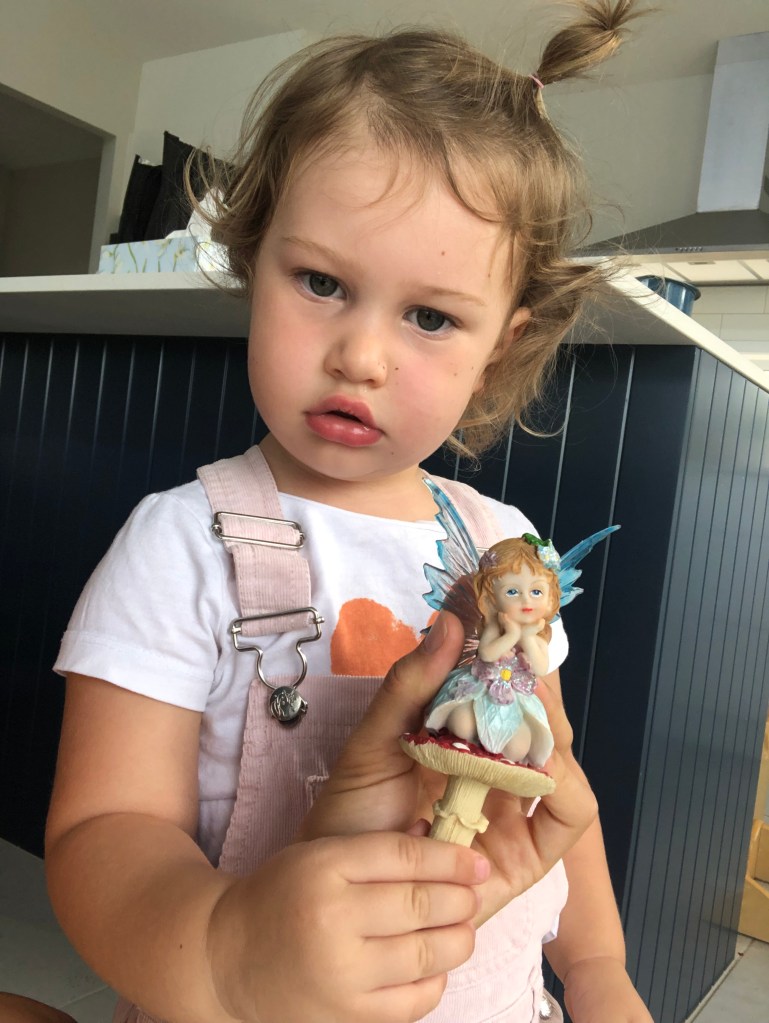
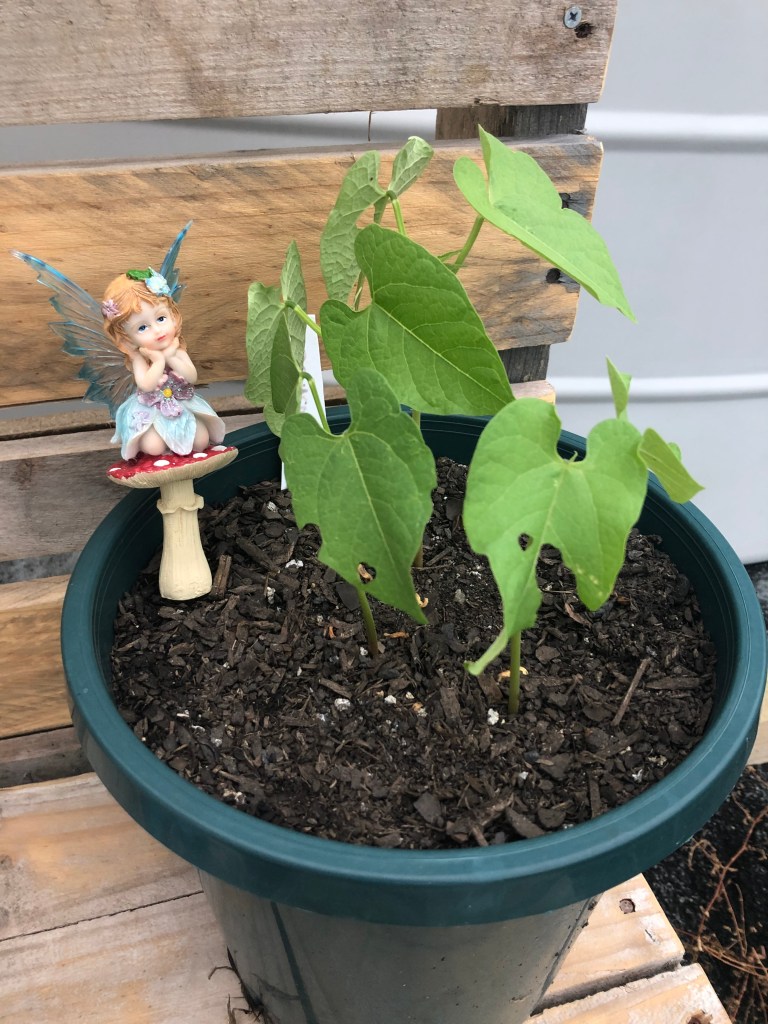
As I said, it’s not quite finished, but here it is! Ruby chose the fairy at a op shop, and I had to include it somewhere. I’d love a little flower and herb garden around her mud kitchen, but all in time. I got her to choose some seeds and plant them, so we have some bush beans and nasturtiums, plus california poppies and echinacea in little pots. I have plans to make little planter boxes from left over pallet timber. I have a lot of plans though..
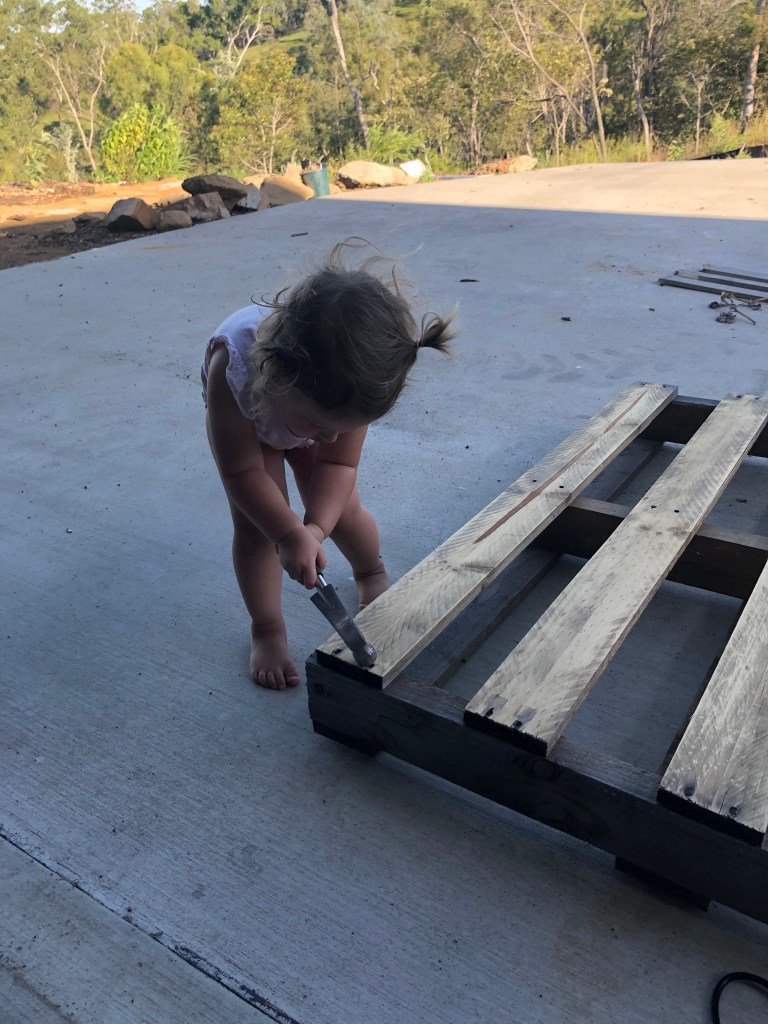
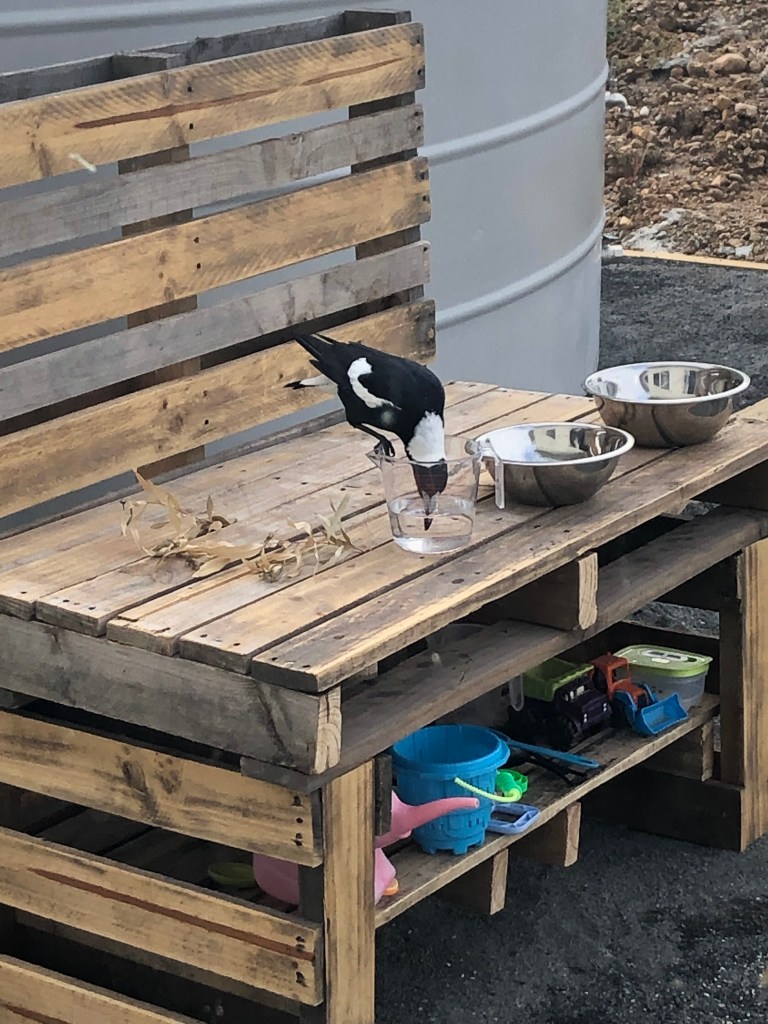
Is it everything I hoped it would be? Pretty close. Did I learn A LOT? Yes. It has been a really nice family project too, which I’m appreciating more now reflecting back on the photos! All out there doing our bit, even our maggies joined in.
So, will I make something else from pallets? Of course! I’m already planning a potting table, a little table seat for the mud kitchen and one for the garden. All after I make a pallet and colourbond compost bay of course!

Leave a comment