This craft table is the project that made my parents push me to share my projects! It seems only fitting it should be the first post. Since moving into our new house, I’ve been lucky enough to have a dedicated sewing/craft room/office to myself. It was furnished with free and cheap bits of furniture, with stuff still in boxes and zero organisation, just general chaos. It was the opposite of functional, but always in the too hard basket to organise, and not a priority financially. My parents must have had enough of me complaining and asking for advice on ideas I never followed through with, and they very kindly sent me some money and told me to create a functional sewing/craft room.
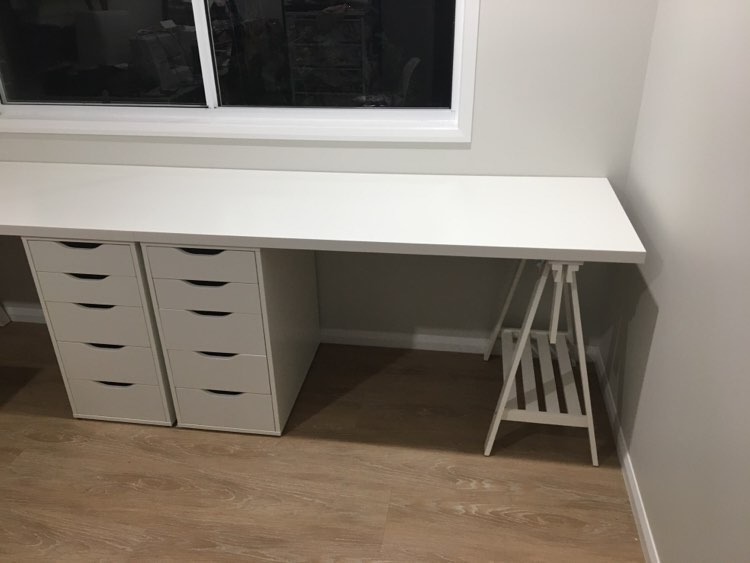
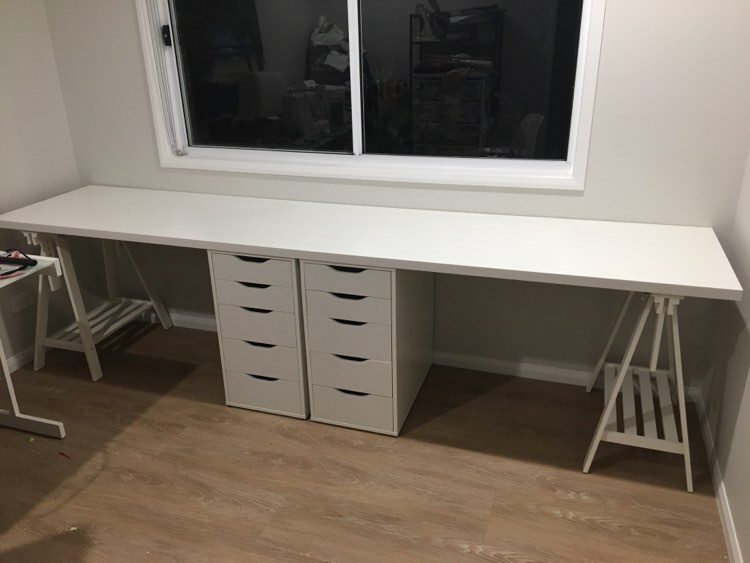
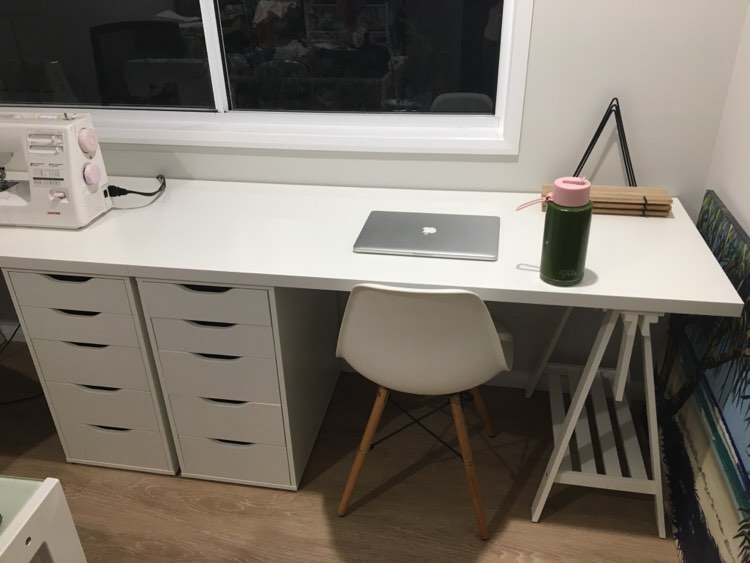
Now the pressure was on to create the ideal space and do it justice. Lots of Pinterest searching, dreaming, and researching, I finally decided on 2x IKEA desks, one for my computer and office space, and one for my sewing machine and overlocker. I drove the 1.5hr round trip to IKEA, toddler in tow, loaded up my trolley and car, then spent late nights when Ruby was asleep, assembling furniture, stubbornly refusing help from my husband. The result, one set of upside down drawers that needed to be redone, multiple blisters from using a screw driver so I didn’t wake Ruby with a drill, and finally a 3m wall of crisp white desk top and drawers! Worth it! For anyone interested, I made 2x desks from IKEA, each with a set of ALEX drawers, MITTBACK trellis leg and LAGKAPTAN desk top (1400mmx600mm).

Craft Table
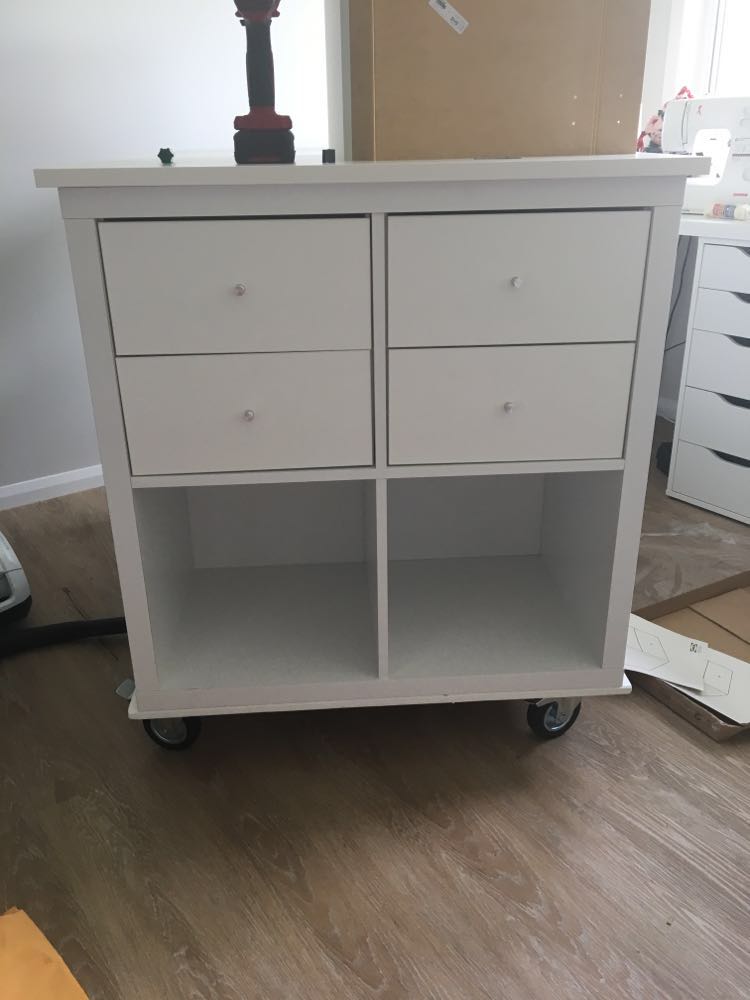
I wanted a craft table for my sewing room that was standing height for cutting out, a general workspace, and ideally a space kids could sit at stools and make creative mess in years to come. I wanted it as big as would fit, but once the desks were in, I realised I didn’t have as much room as I thought. After much deliberation, procrastination, and research (and a little nudge from my parents), I settled on a project. I have limited experience with this type of project but was keen for the challenge. I saw this picture on Pinterest and didn’t find the link to the tutorial until writing this post (face palm). I’m still much happier with the way I did it, it works for me. It was a classic reverse engineering project. After many phone calls for advice to my parents, and some more research. This is the final product. Disclaimer, I have no affiliation with any of the brands, just sharing what I’ve made!


Next item for my room, some shelves… but that’s another whole story on it’s own!
Still to go, a pegboard and a few little bits and bobs, like storage baskets and drawer organisers, but all in time. I am out of budget, and it’s finally functional and I just want to use it to get on with other projects now!
For now, here are the details of the craft table construction. I’ve included the list of supplies I used, and a brief description of how I made the table. There are so many options, and I worked with what I had, or didn’t have. There is no one way to do this. I really like that I bought a desk top from IKEA instead of making one myself, it was much easier.
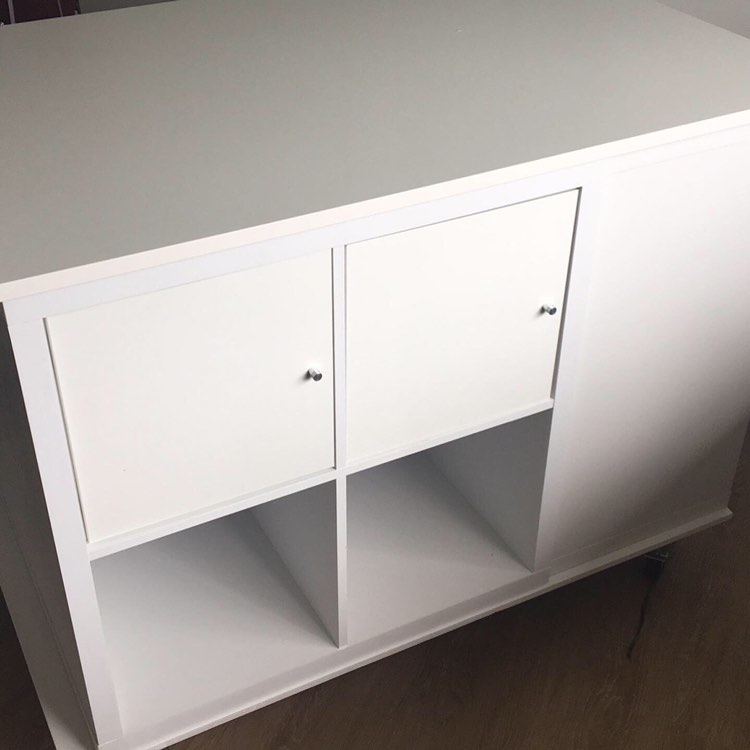
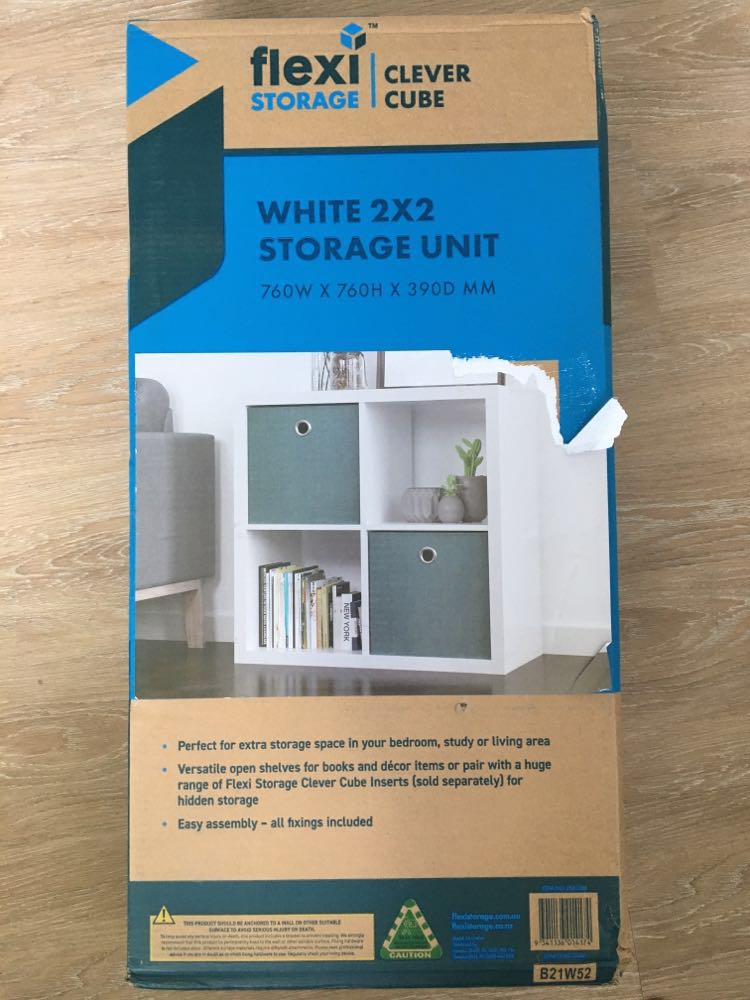
I choose to use Bunnings cube units instead of IKEA as they were cheaper, in hindsight, I think the extra money would’ve been worth it. IKEA KALLAX units are better quality I think.
My shopping list:
- 3 x cube shelving unit 2×2 – Bunnings https://www.bunnings.com.au/flexi-storage-clever-cube-76-x-39-x-76cm-2-x-2-cube-unit-white_p2583385 could also use IKEA Kallax units https://www.ikea.com/au/en/p/kallax-shelving-unit-white-70351886/
- 15mm plywood 1200mm x 800mm
- IKEA TROTTEN desk top 140cmx80cm – https://www.ikea.com/au/en/p/trotten-table-top-white-30474790/
- 4x Castor wheels 100mm, swivel with brakes – https://www.bunnings.com.au/move-it-100mm-70kg-black-rubber-swivel-plate-castor-with-brake_p3940323
- 2x KALLAX drawer inserts Ikea – https://www.ikea.com/au/en/p/kallax-insert-with-2-drawers-white-20351879/
- 2x KALLAX cupboard inserts Ikea – https://www.ikea.com/au/en/p/kallax-insert-with-door-white-60351877/
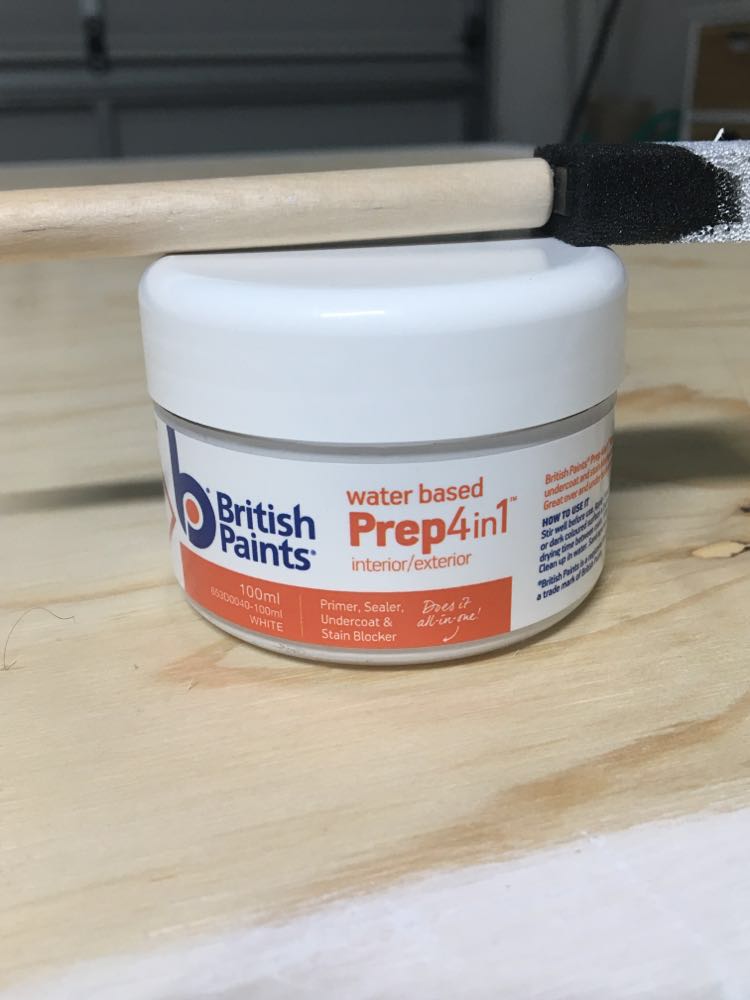
- British paint 4 in 1 – https://www.bunnings.com.au/british-paints-100ml-white-prep-4-in-1-water-based-primer-sealer-undercoat_p1420370
- White paint (I used gloss enamel in builders white left over from our house build)
- Sandpaper
- 10G x 50mm Timber Screws
- 8G x 40mm Timber Screws
- 12G 25mm Hex head screw (for castors)
Tools: Screw driver, drill wth phillips head, hex head and drill bit for pilot holes, paint brush, dust brush
- Assemble cube units per instructions.
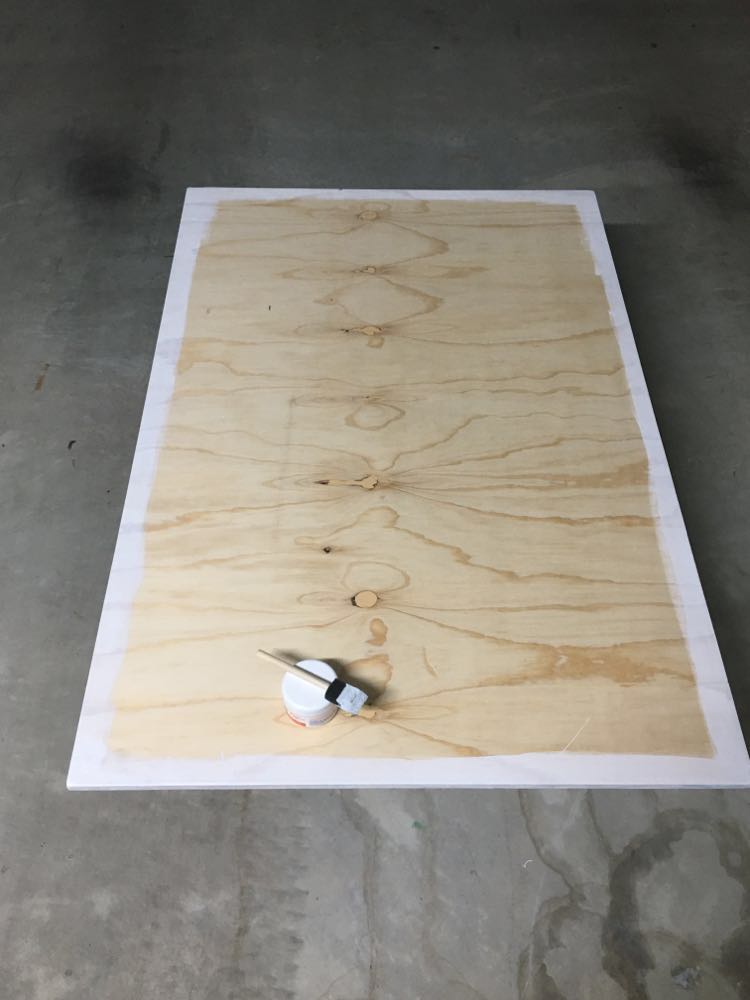
2. Plywood base – Sand edges and corners of plywood. Dust and clean.
Note: I bought a 2400mmx1200mm piece from Bunnings and got it cut there into 3x 1200x800mm since I don’t have anything to cut timber with myself and it wouldn’t fit in my car without cutting. This left a slight lip/overhang on one end. You could cut it to make it flush like the design I copied, but it actually created a tiny little step that can be a foot rest under the overhang on the bench that I don’t mind.
3. Paint 2 coats 4 in 1 White prep. Let dry then paint with white paint. (I only painted the exposed edges and about 50mm around the top edge that would be facing up)
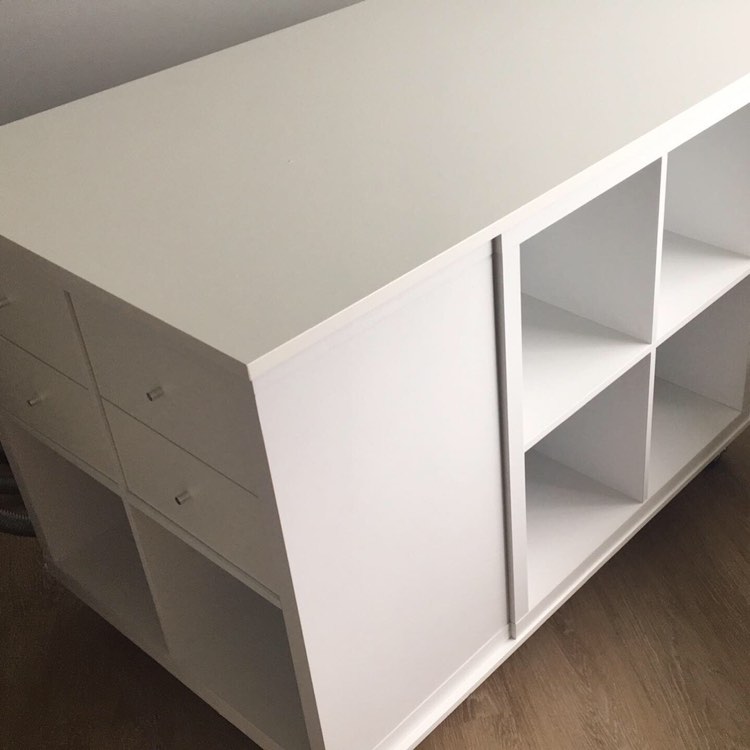
4. Arrange units together, place ply on top. Line up edge flush with single unit with shelves. Overhang will be little foot rest on end with no exposed shelves.
5. Centre units on ply – may need to hold together with something to make them flush – I just used tape, but a strap would’ve been better, or someone holding them while you drill it.
6. Screw ply to units with 40mm screws, I used self drilling, but drilled too close to the edge of the ply and split it. I just screwed further away from the edge, but drilling pilot holes would’ve helped.
7. Attach castor wheels with hex screws on each corner, make sure they are close enough to the edge that the brakes can be reached with your foot. I drilled pilot holes for these. Each wheel had 4 screws, except one has only 3. The screws came in a pack of 15 and I didn’t want another pack just for one screw. I choose 100mm because of the height I wanted the finished table.
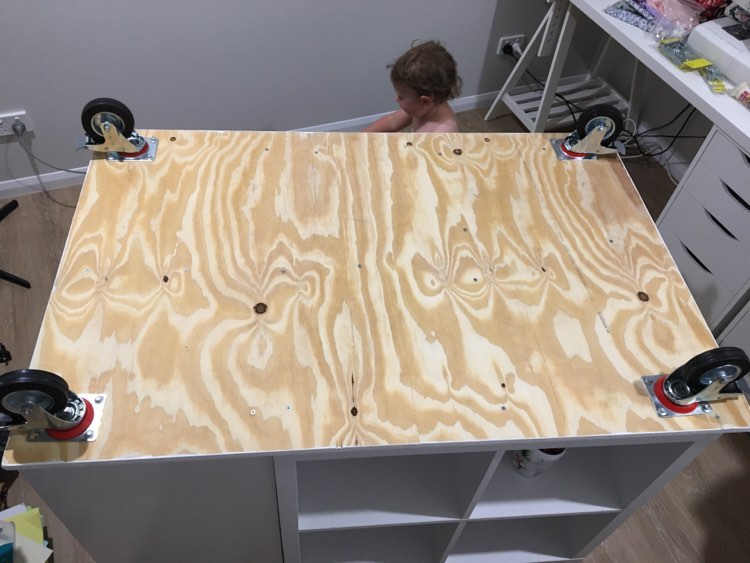

8. Place the desk top on a sheet or something on the ground with right side facing the ground. Lift the table onto the desk top, careful not to separate the units – it’s heavy and it definitely took 2 people to do it carefully.
9. Line up desk – I had the overhang on the end with no exposed units and choose to have a slight (maybe 10mm) overhang on the other end just to make it look centred.
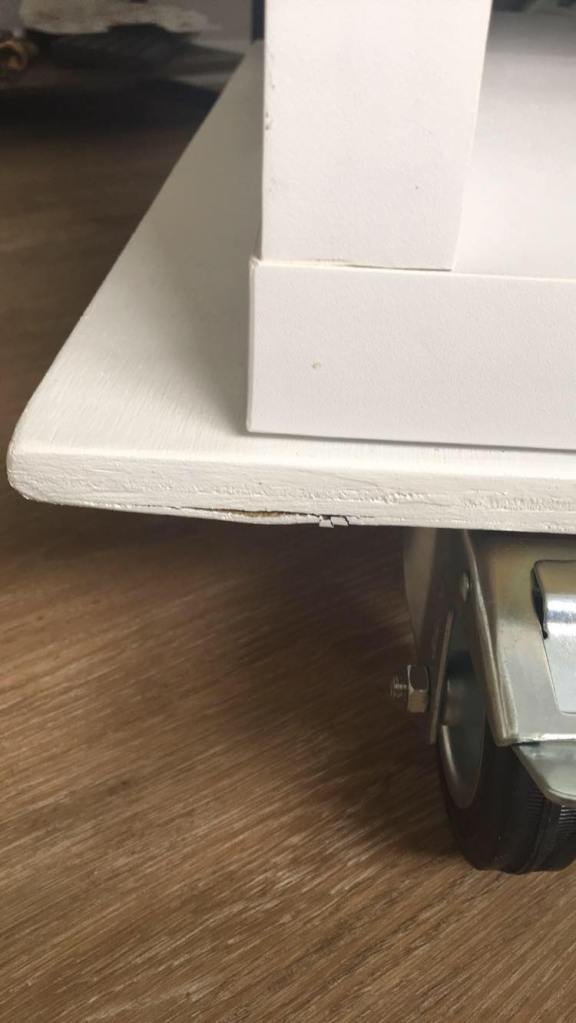
10. Screw the units to the desk top – I drilled pilot holes here too and used the 50mm screws. The units are quite thin and hollow – be very careful drilling into them, drill pilot holes, and go slowly. A few of my screws went right through and made a small crack on the desk top. I don’t think this would happen with the IKEA KALLAX units.

11. Flip table up the right way, lock wheels before flipping – again, 2 person job!
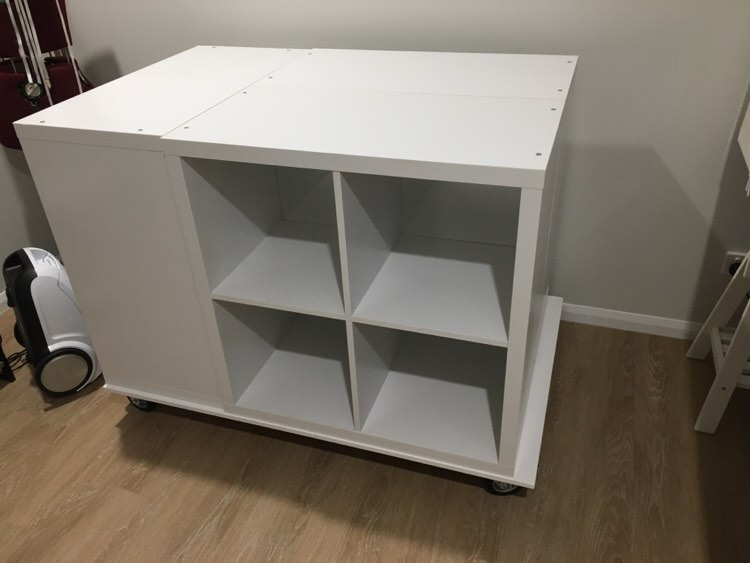
12. Fill cubes with inserts. I choose 2 x drawer units and 2 x cupboards for one side, leaving one side just open cubes.
13. Assemble as per instructions and attach to cube units – again, pilot holes are required.
If anyone is interested and wants further details, please reach out! I really enjoyed making this, and it’s amazing to use, I love it. I learnt a lot just researching and deciding the types of material to use. Now to put it to good use!

Leave a comment